Lamp Refurb
Background
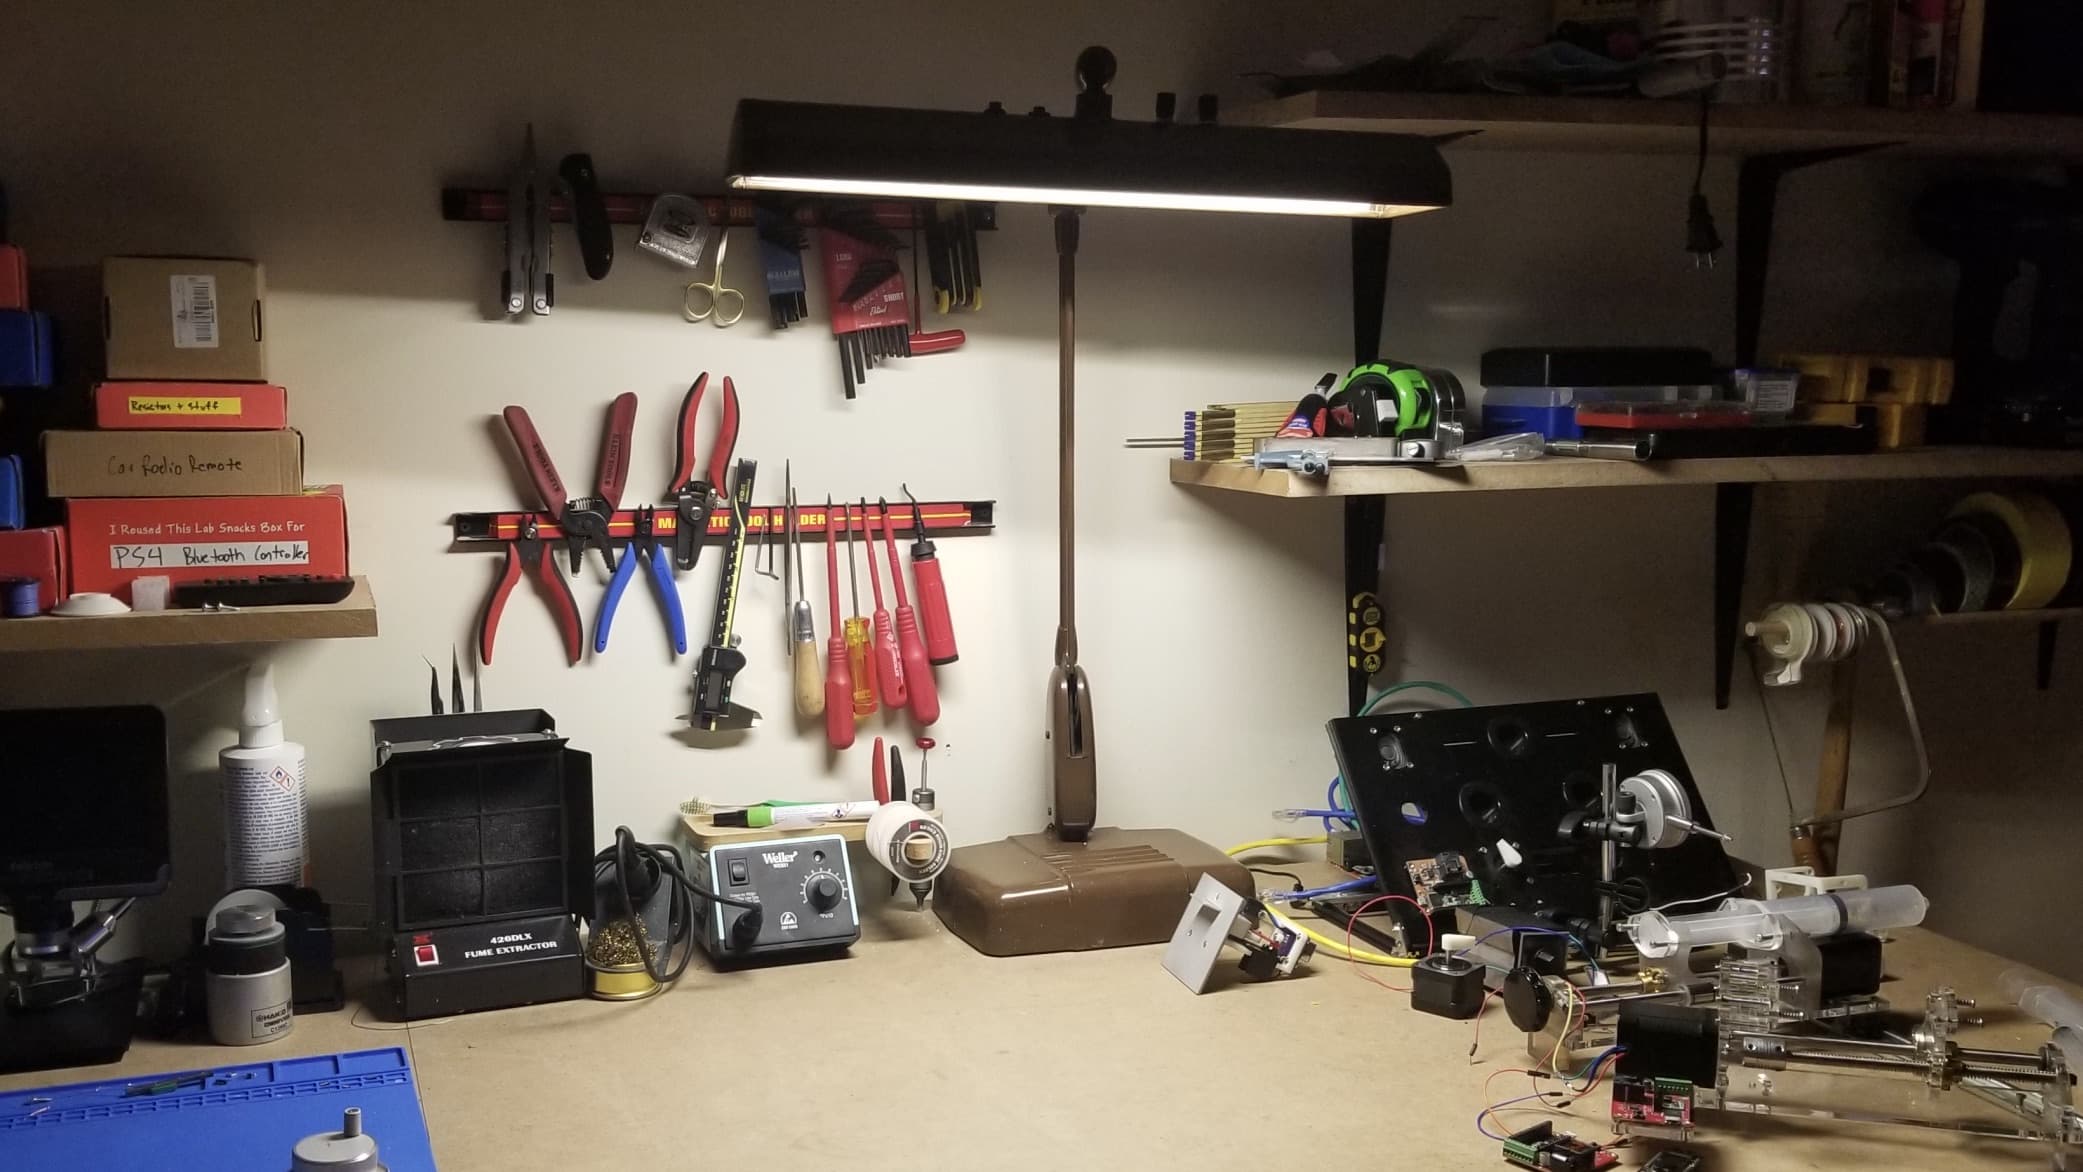
I came into posession of my grandfather’s old desk lamp. It is a hefty Dazor P-2324-16 lamp with two fluorescent bulbs.
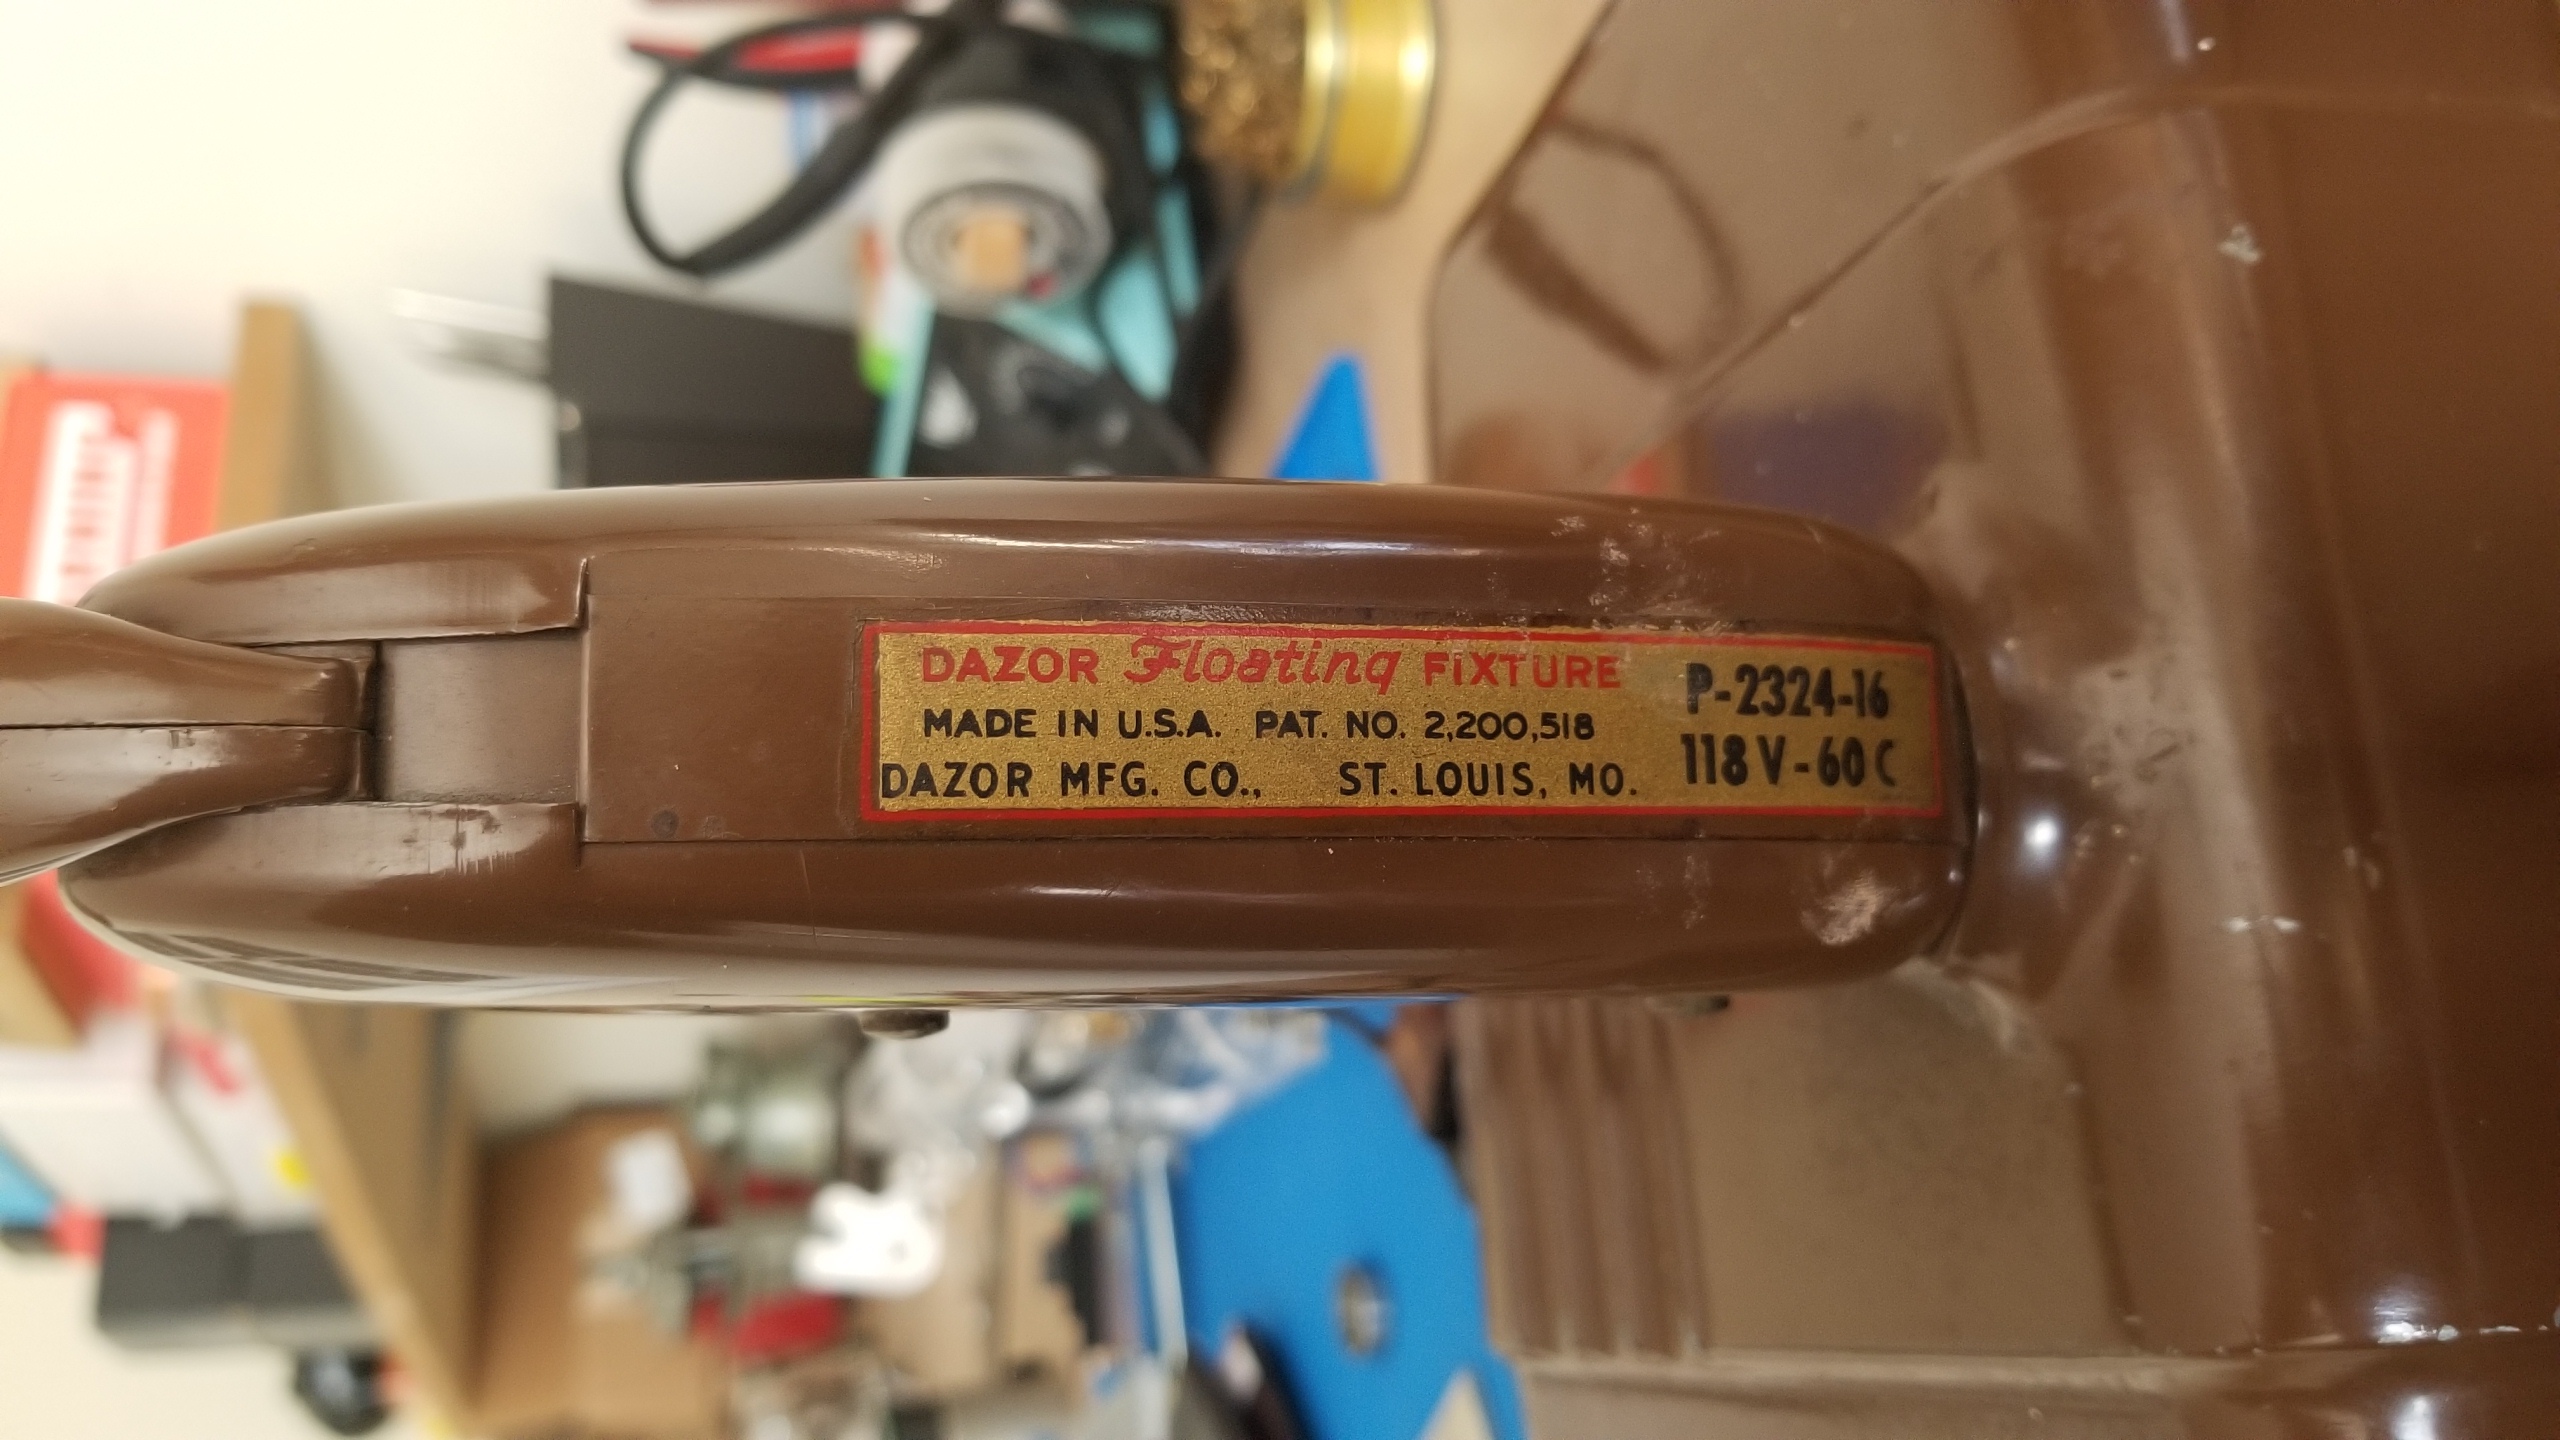
original lamp from the 1960s?
It was an excellent bright light source on a far-reaching articulating arm. I happily used it on my desk for a couple of weeks until one day there was a flash and loud pop from underneath my desk! Turns out it would have been wise to inspect the lamp cord’s insulation before using it…
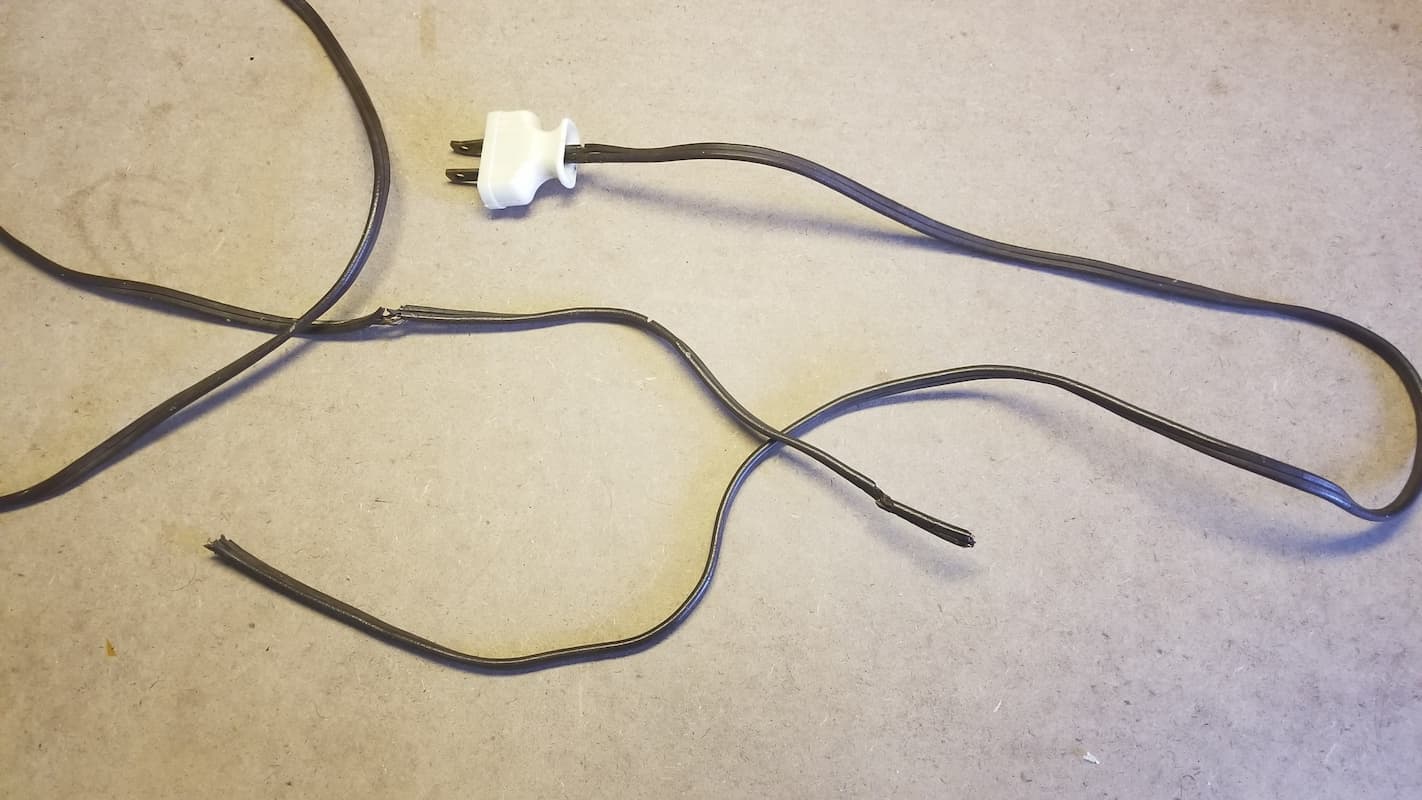
The pop was the wire completely separating
Luckily my circuit breaker did its job and cut power to the electrical socket, thereby preventing any damage, but I was left with a defunct lamp that needed a new power cord. I figured since I needed to replace the cord, it would be fun to go ahead and make some modifications to the lamp while I was at it. I decided to ditch the fluorescent bulbs and upgrade them to LEDs, with color temperature and brightness adjustments to boot.
Design
I wanted to preserve the look of the lamp as much as possible. My new circuit would use the original on/off switch along with two additional knobs for analog adjustment. The fluorescent tubes would be removed and replaced with led strips.
I first ordered some white LED strip lighting. This stuff is pretty amazing. It is a long thin strip of flexible circuit board that comes in a roll. You can unroll and cut the strip to your desired length and then stick it to whatever surface you like. My roll came with both warm and cool white LEDs, and a remote control for adjusting brightness and color temperature.
Although I could see it being useful for other applications, there were several reasons I didn't want to use the included remote control for my lamp:
- I don’t need to turn on my lamp from a distance
- The light is for illuminating my workbench surface and the lamp will always be within arm’s reach
- The adjustment levels are too coarse
- It only offered 10 levels of brightness and 10 levels of color adjustment
- It is an extra unnecessary item
- It relies on batteries which will need to be replaced periodically
- It can be misplaced or lost, leaving me without a way to turn on the lamp
I wanted to reverse engineer the circuit so that I could power and adjust the lighting with my own custom circuit board instead of relying on the included module and remote. Each segment of the strip has 6 LEDs (3 warm and 3 cool). Some probing around with a multimeter revealed that the LEDs were divided into parallel warm and cool circuits, each consisting of 3 LEDs in series with a current limiting resistor.
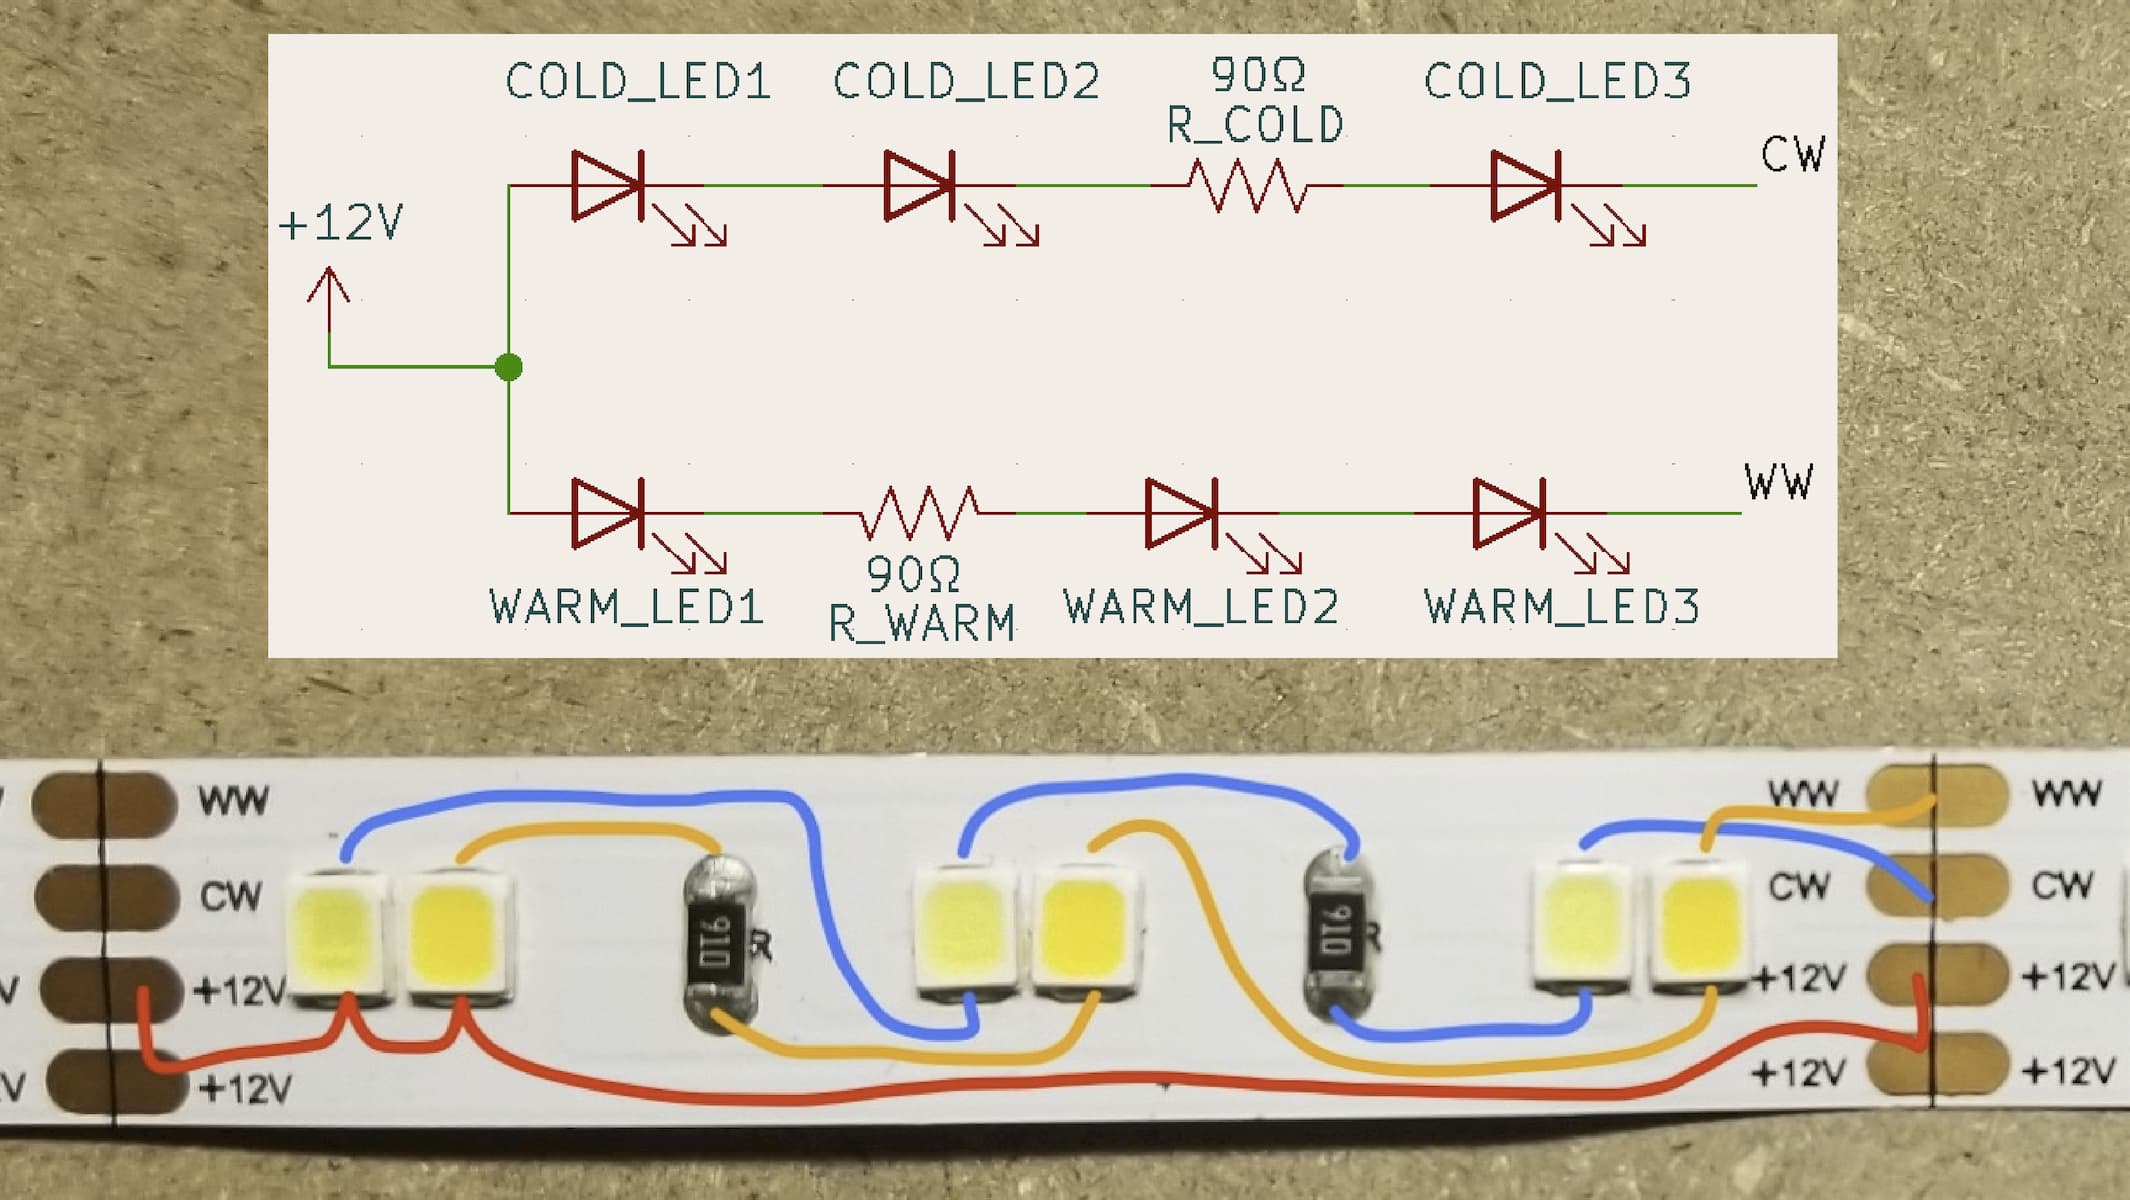
Circuit for LED strip segment
I determined that 4 strips, each 8 segments long, would fit nicely in the space where the bulbs used to be. I measured that a segment of 6 LEDs drew 70mA when at full power. In order to separately control the warm and cold LEDs I would need 2 transistors that could each handle up to 1.12 amps (4 strips * 8 segments * 70mA / 2 colors). I found this dual package NPN transistor that fit the bill.
For the brains of the electronics, I chose an ESP32 microcontroller. It is quite popular and well-supported in the DIY community. There are several open source board designs (Adafruit, Sparkfun, Espressif) which I could reference when designing my own PCB. Firmware development was easy with platformio support and an ESP-Prog Board to upload and debug code. Aside from being a powerful processor, the ESP32 module has WiFi and a built-in antenna which is super useful. Normally when developing firmware, you would need to leave some way to access a programming port on the PCB and then connect it to your computer for uploading new code. With the ESP32, I could completely enclose the PCB inside the lamp yet still upload firmware updates wirelessly using my home WiFi network. Also, since the microcontroller was connected to the internet, I could add fun features like sending notification to my phone using Telegram.
Build
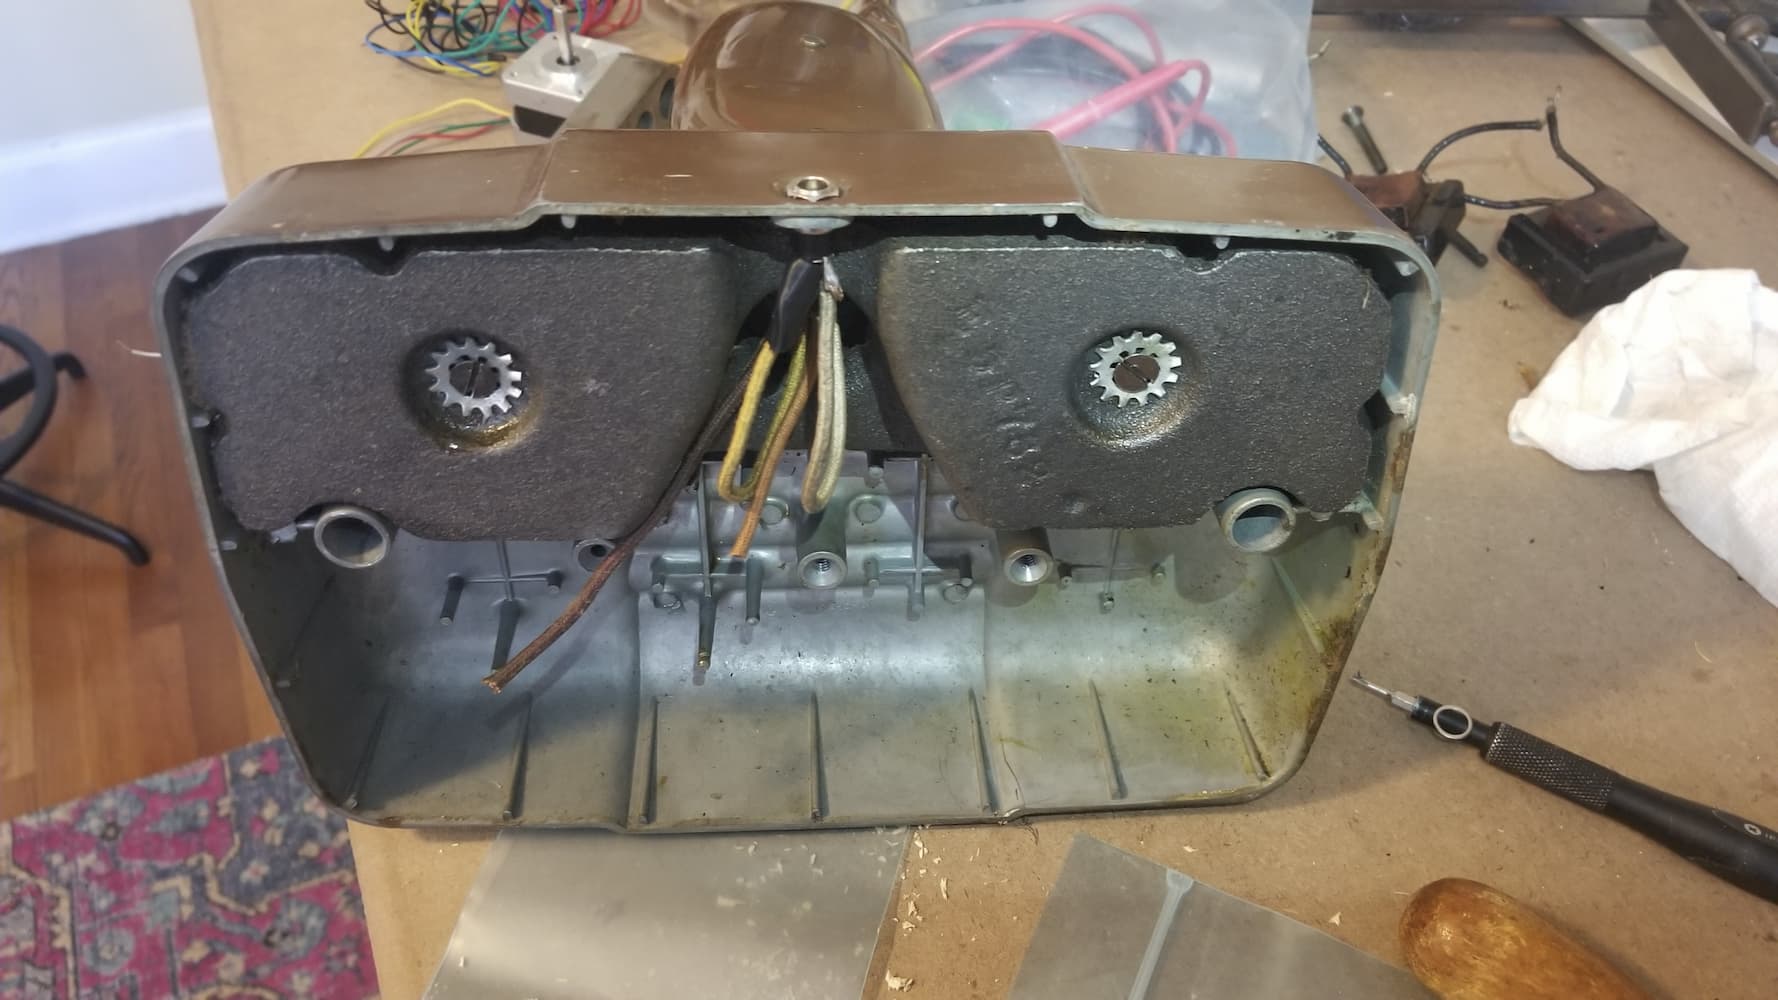
I removed a large capacitor and transformer from the base of the lamp. From the head of the lamp I took apart the tube holders and removed the fluorescent ballast.
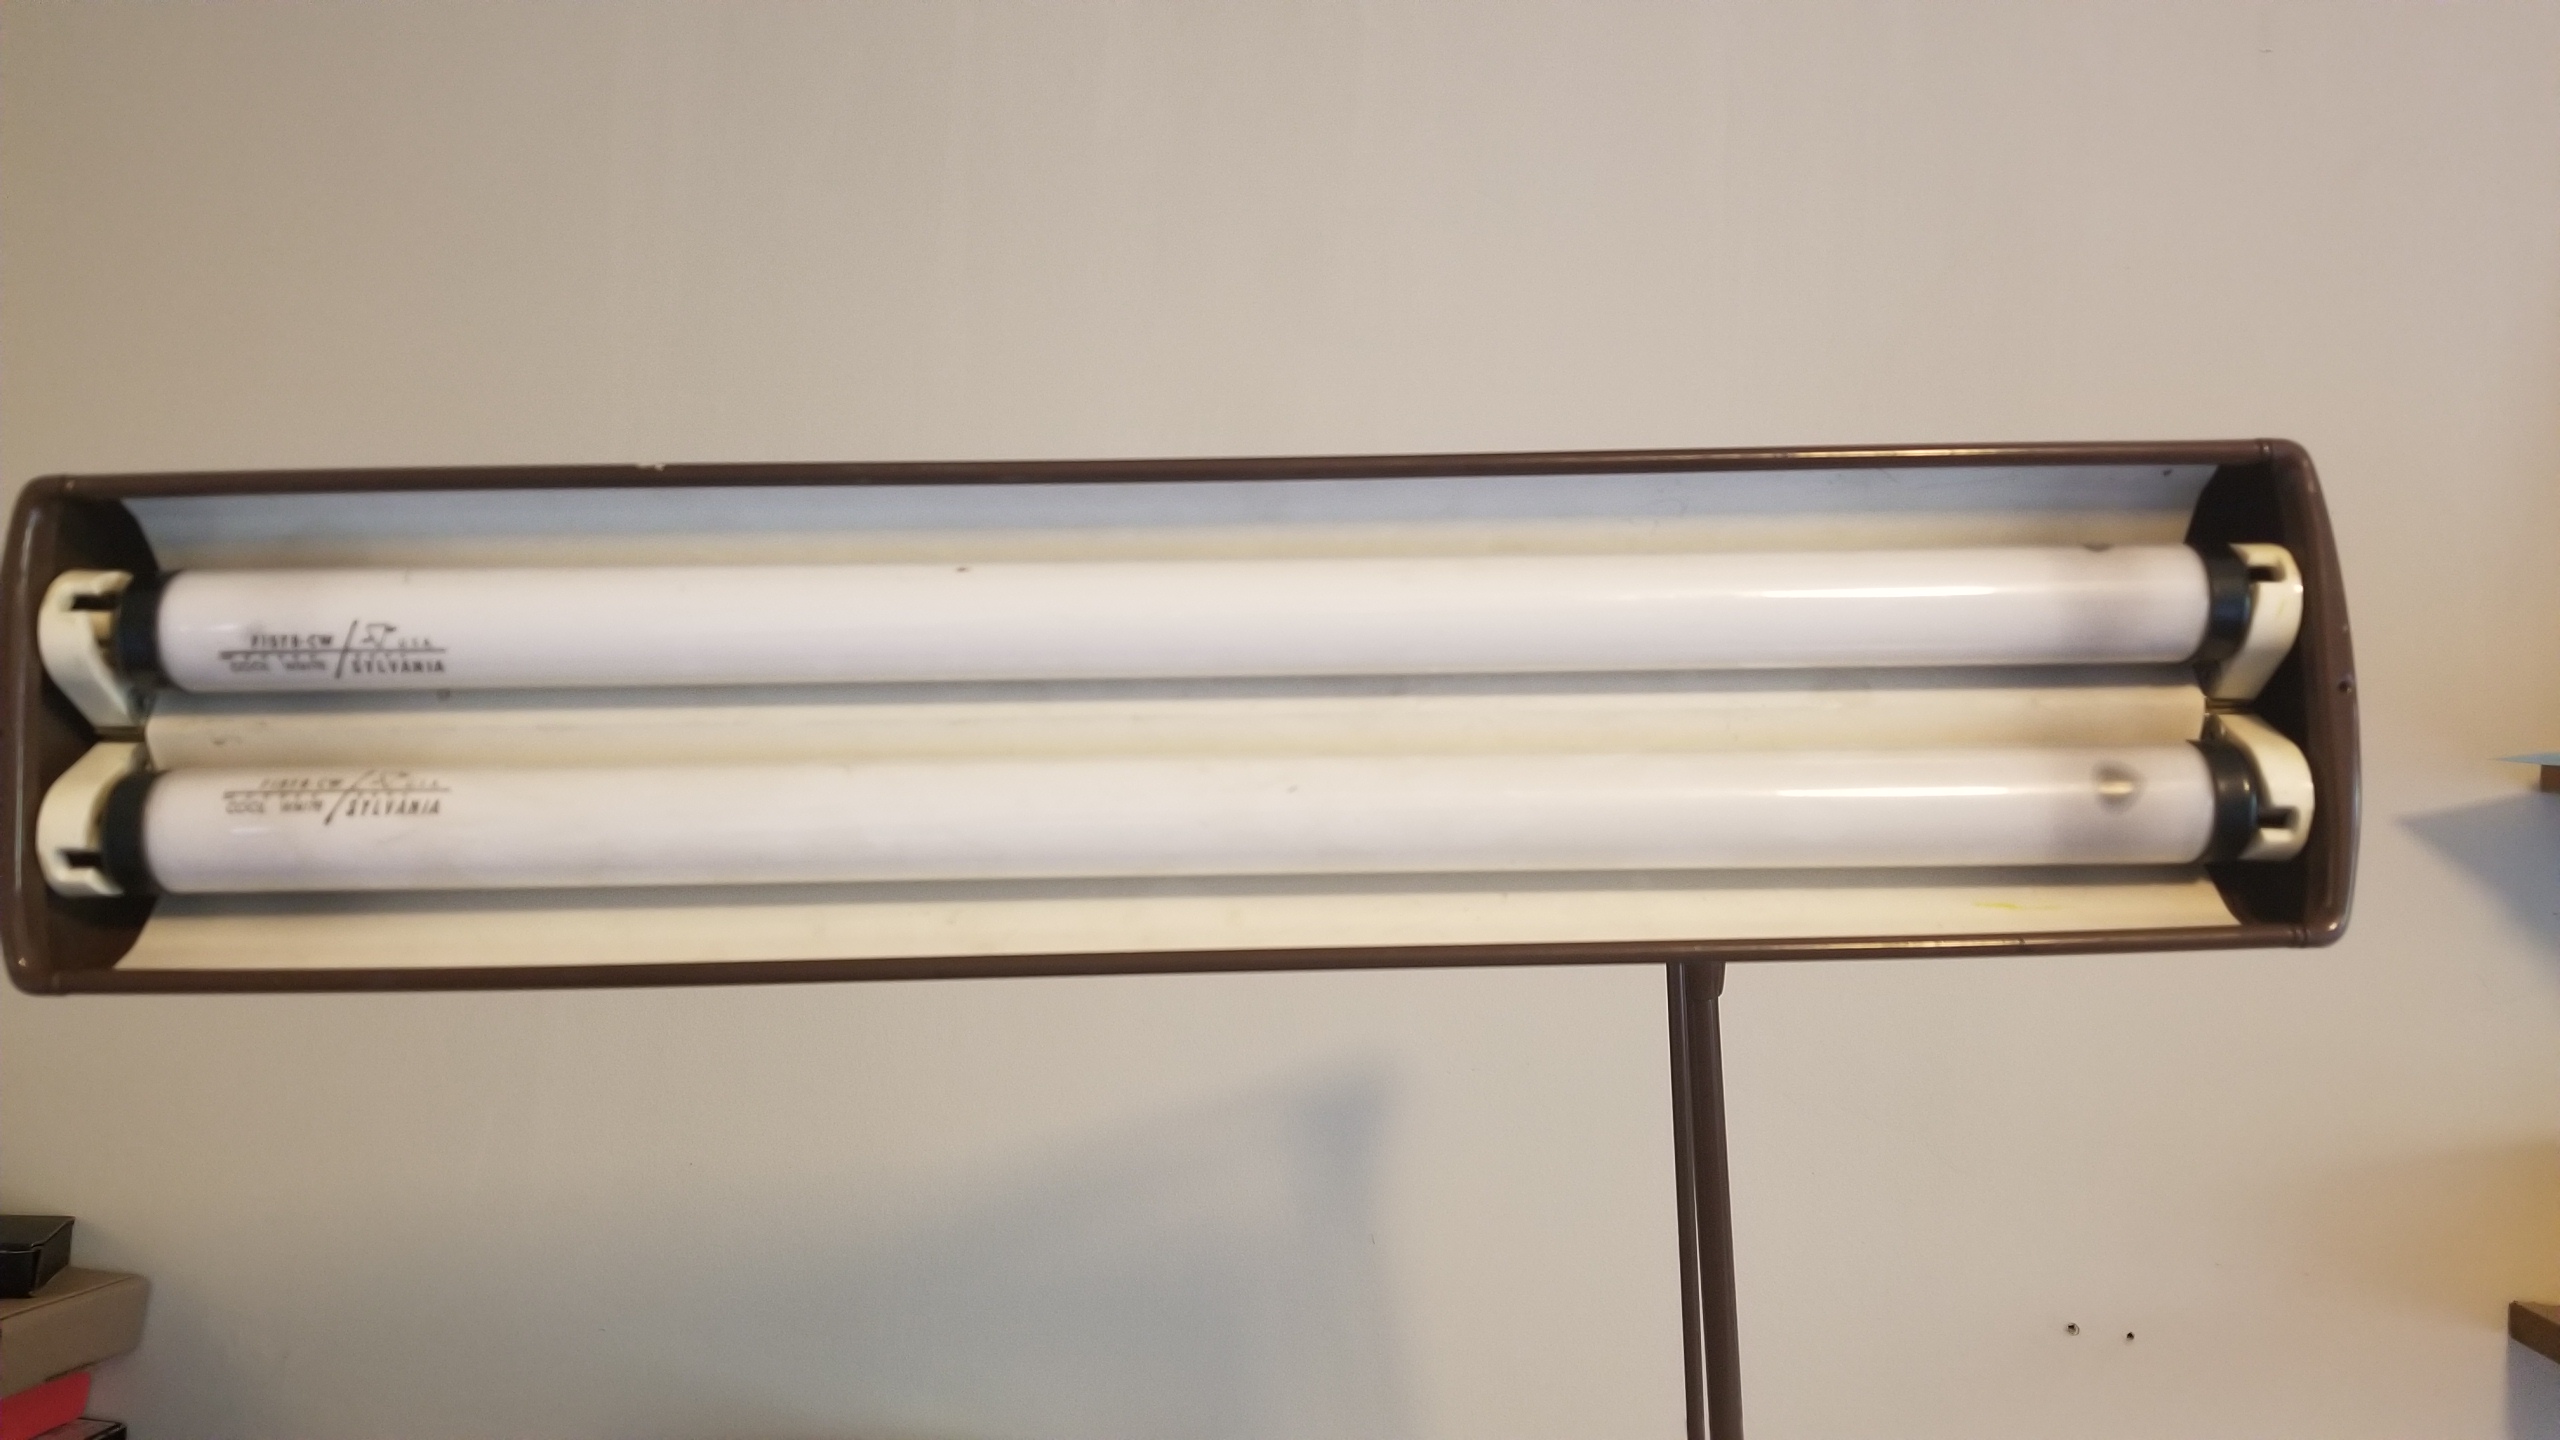
originally had fluorescent tubes
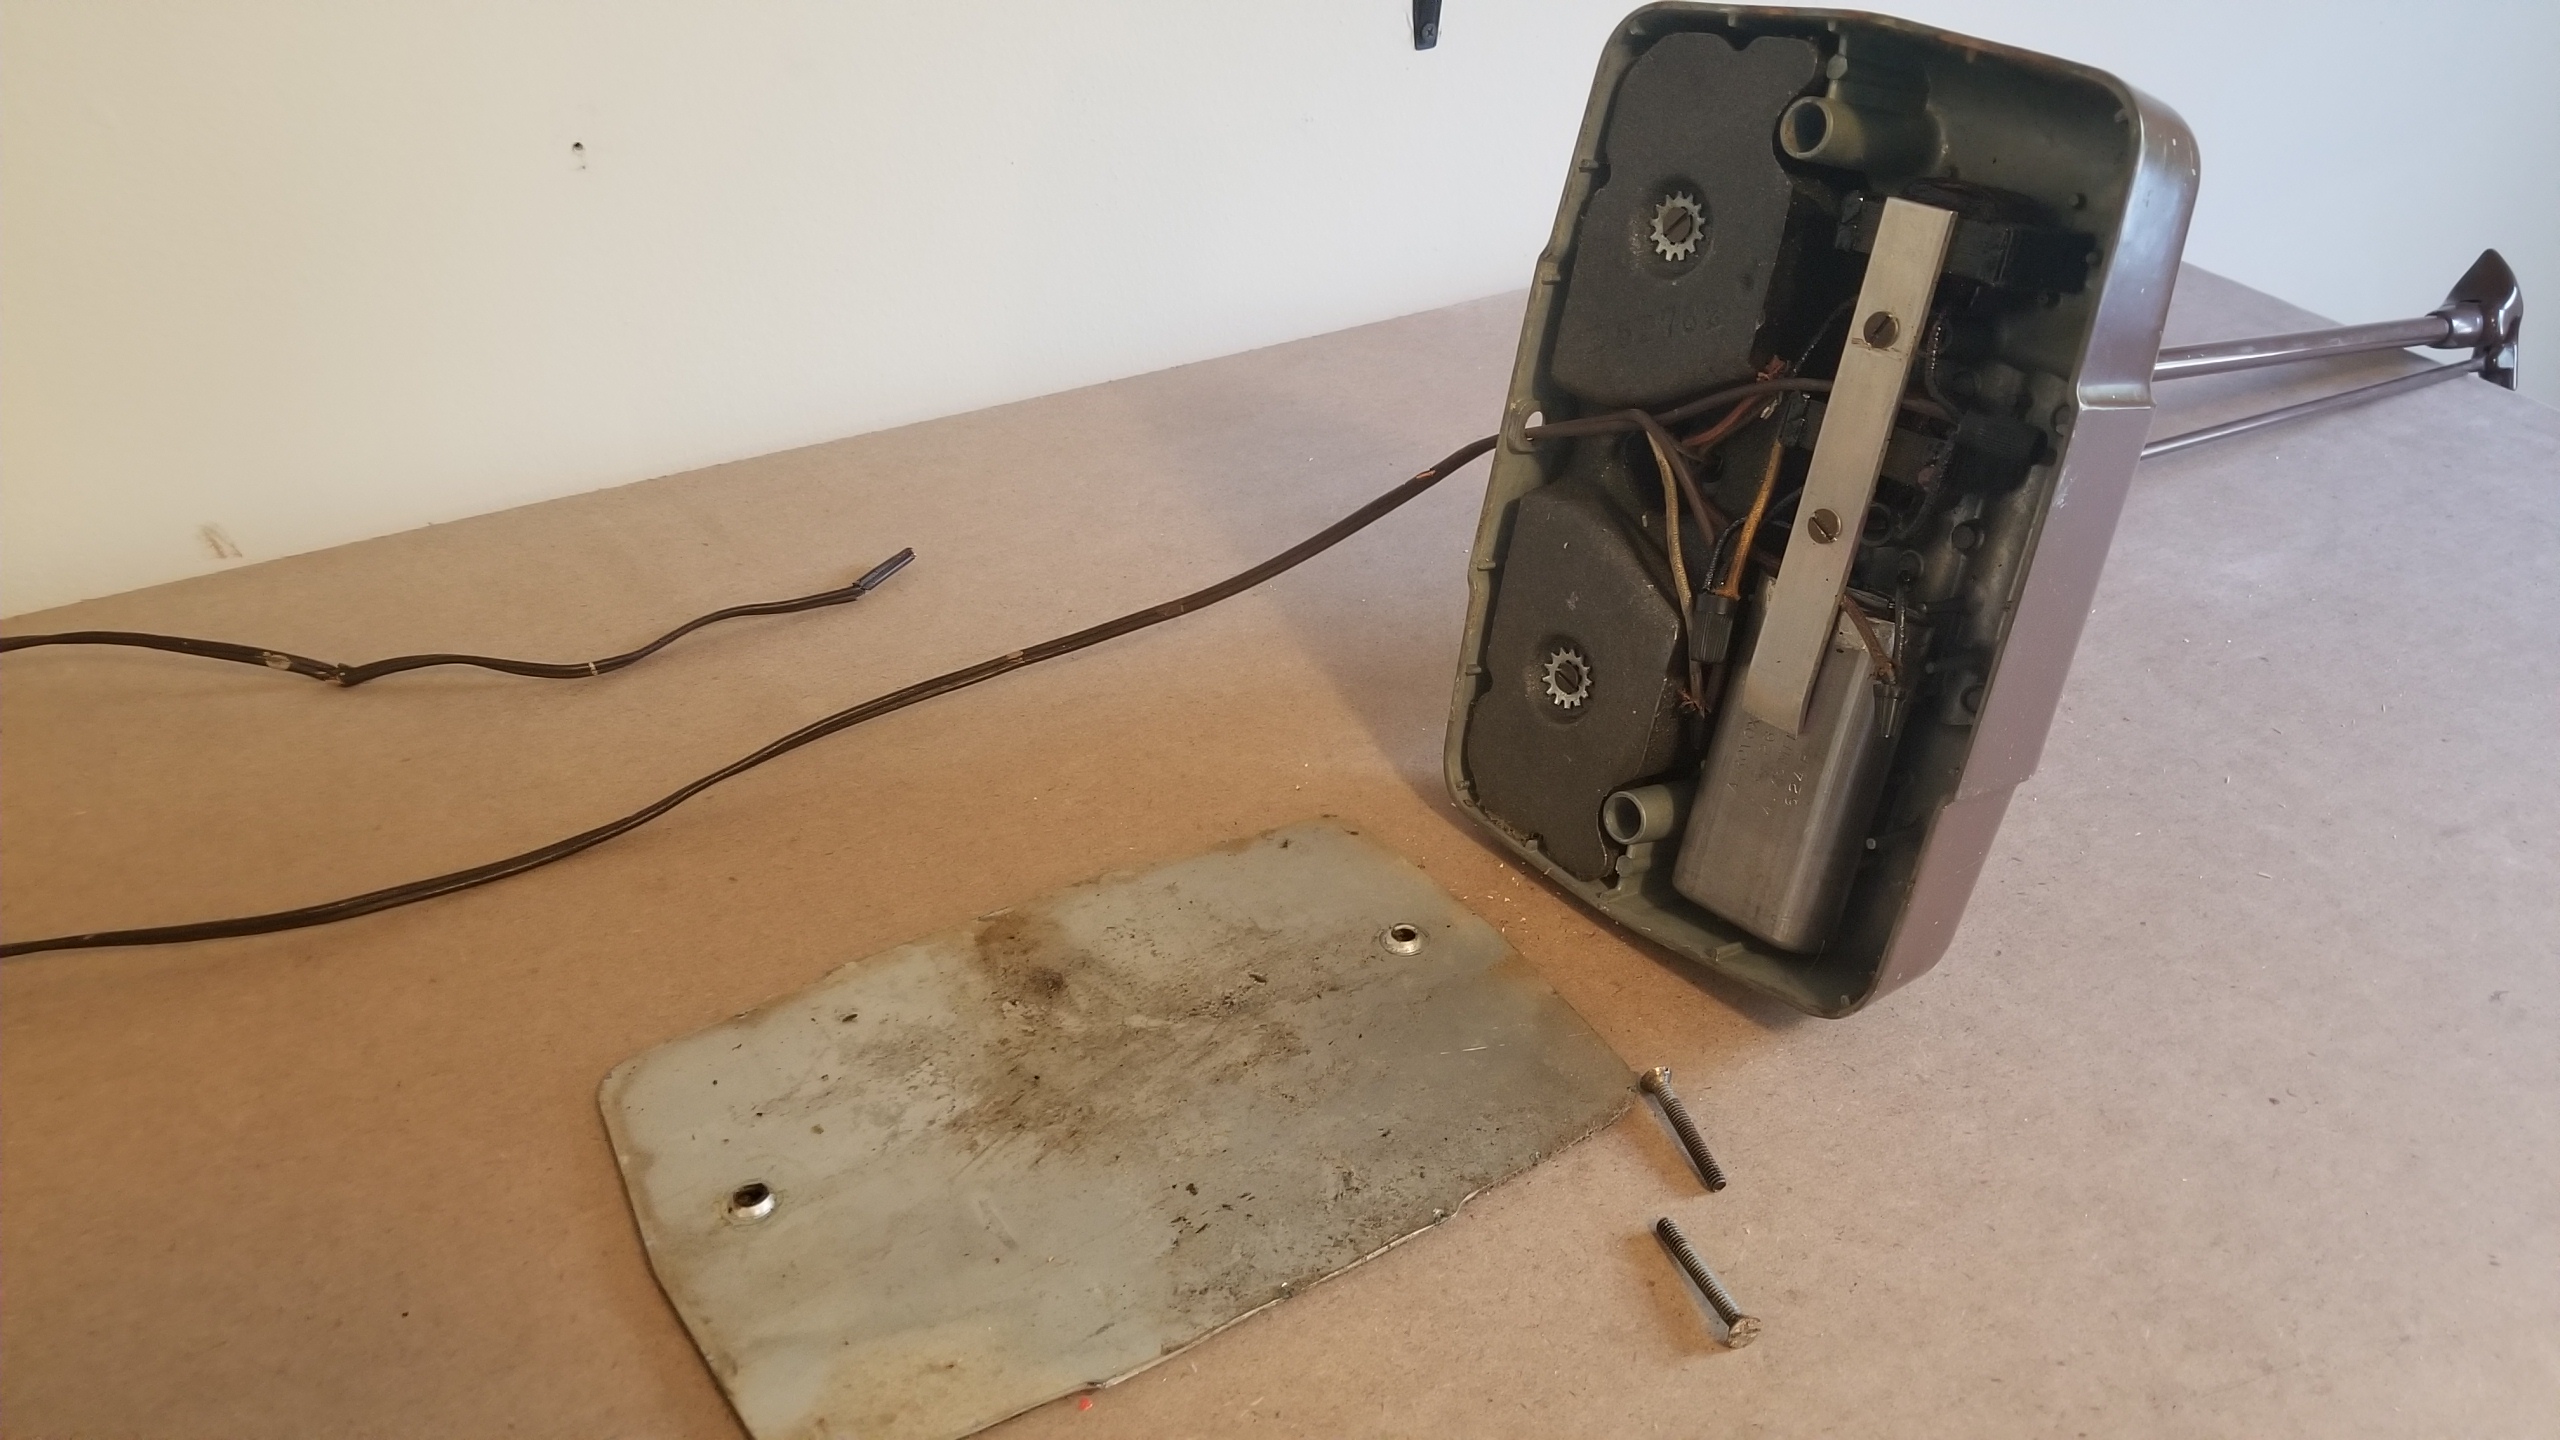
inside the base
I removed the two-button on/off switch. Testing continuity with a multimeter showed that it was not making solid electrical connections, so I took it apart and cleaned up the contacts with steel wool and isopropyl alcohol.
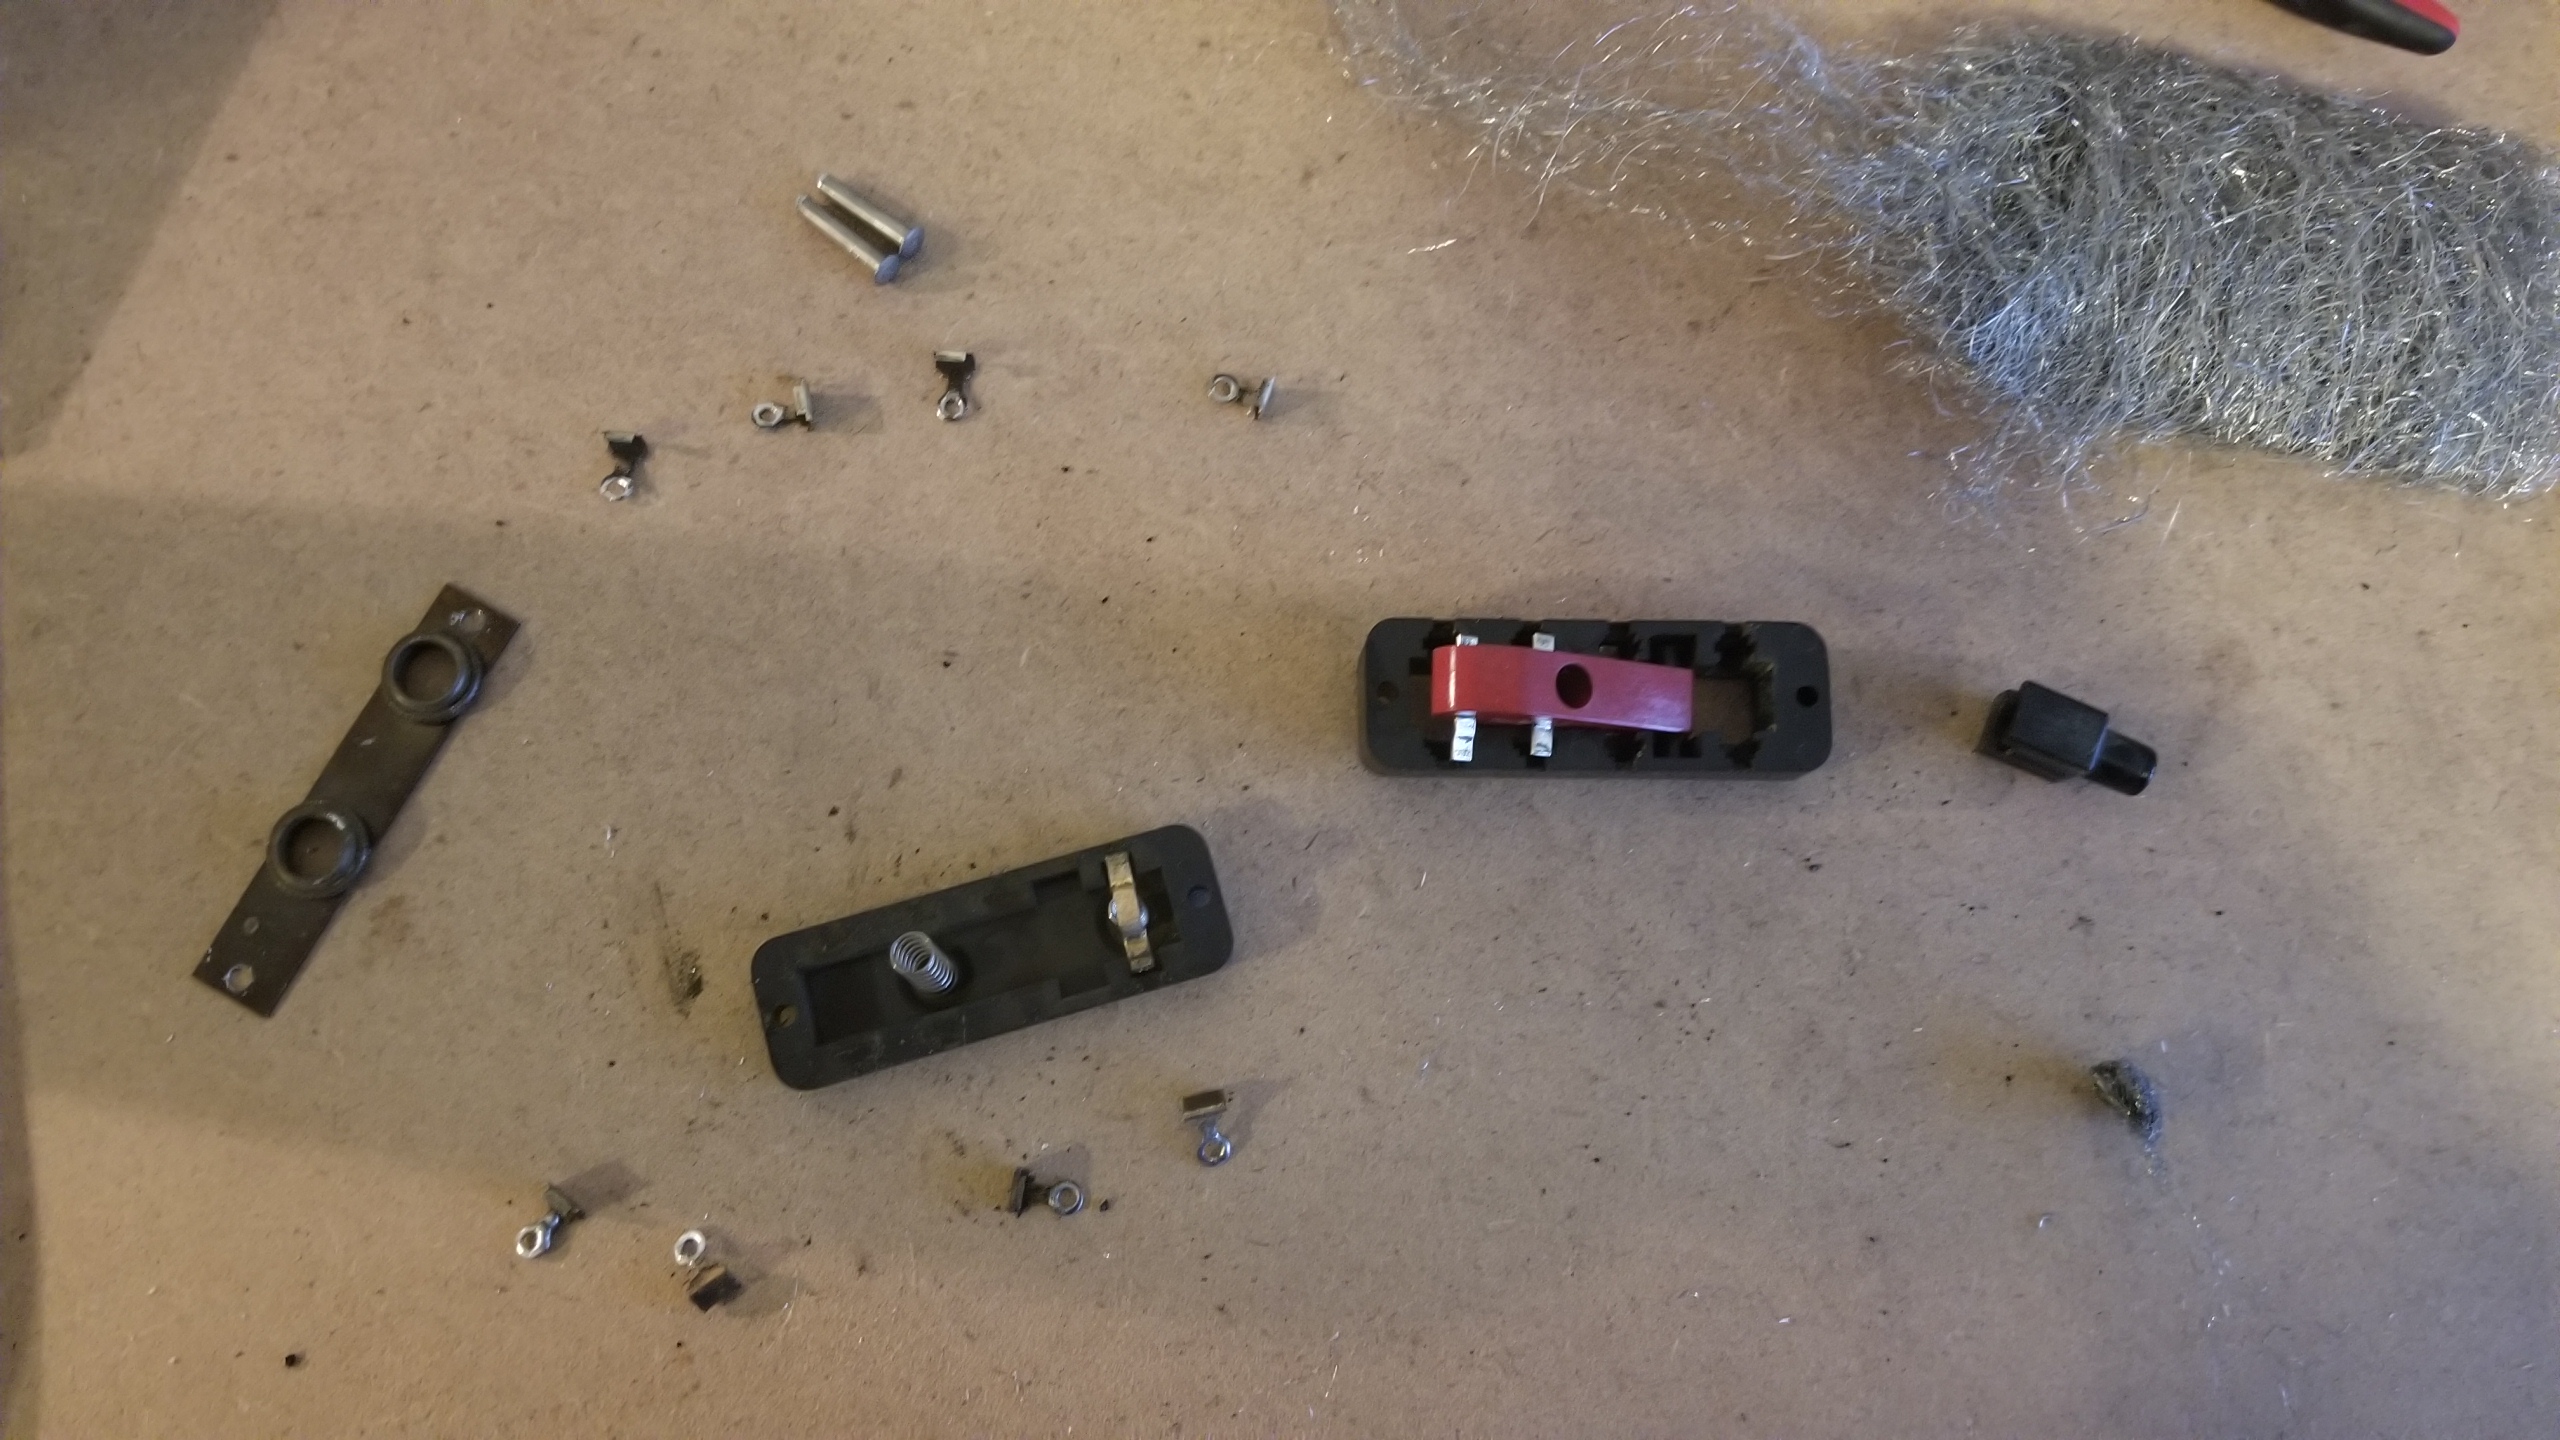
switch taken apart for cleaning
DC barrel jack added
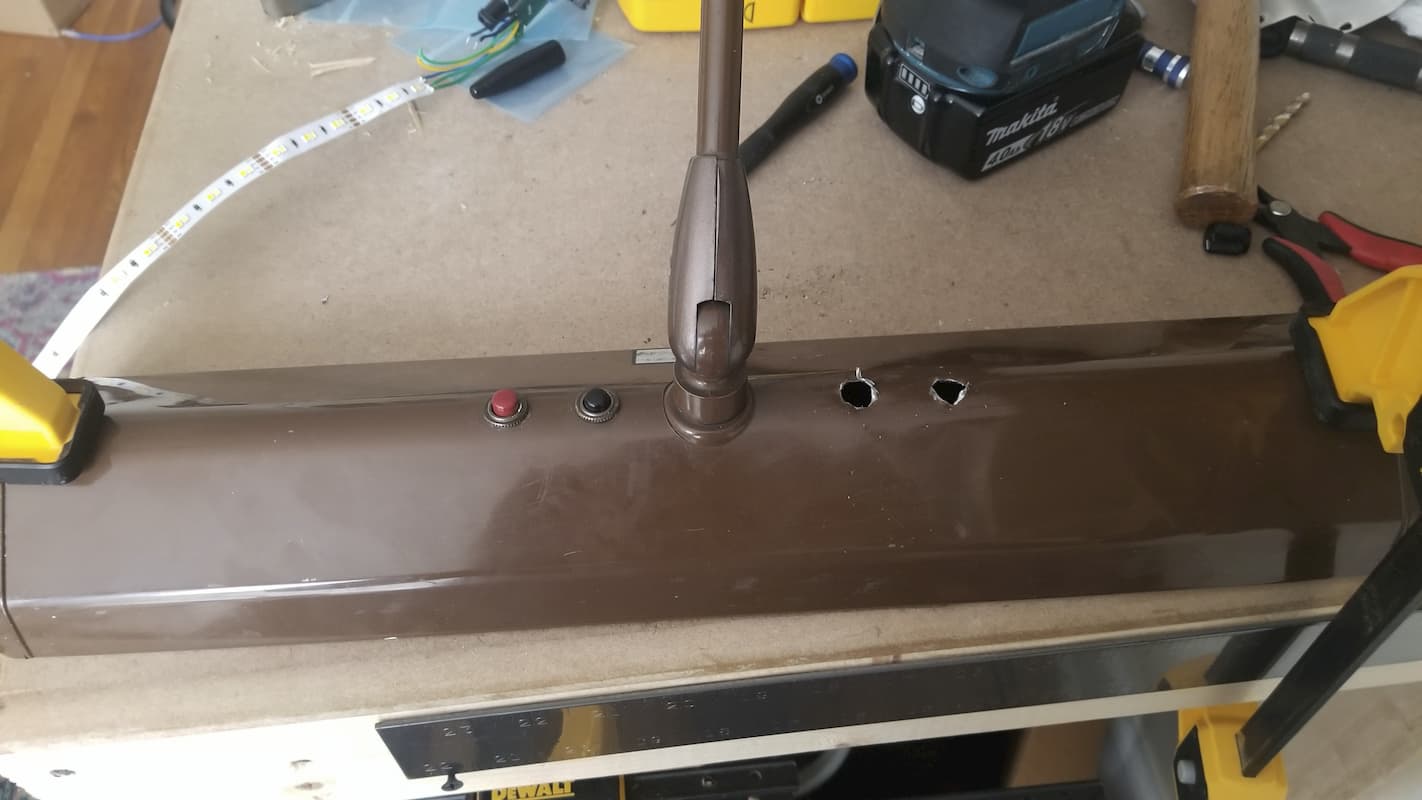
holes drilled
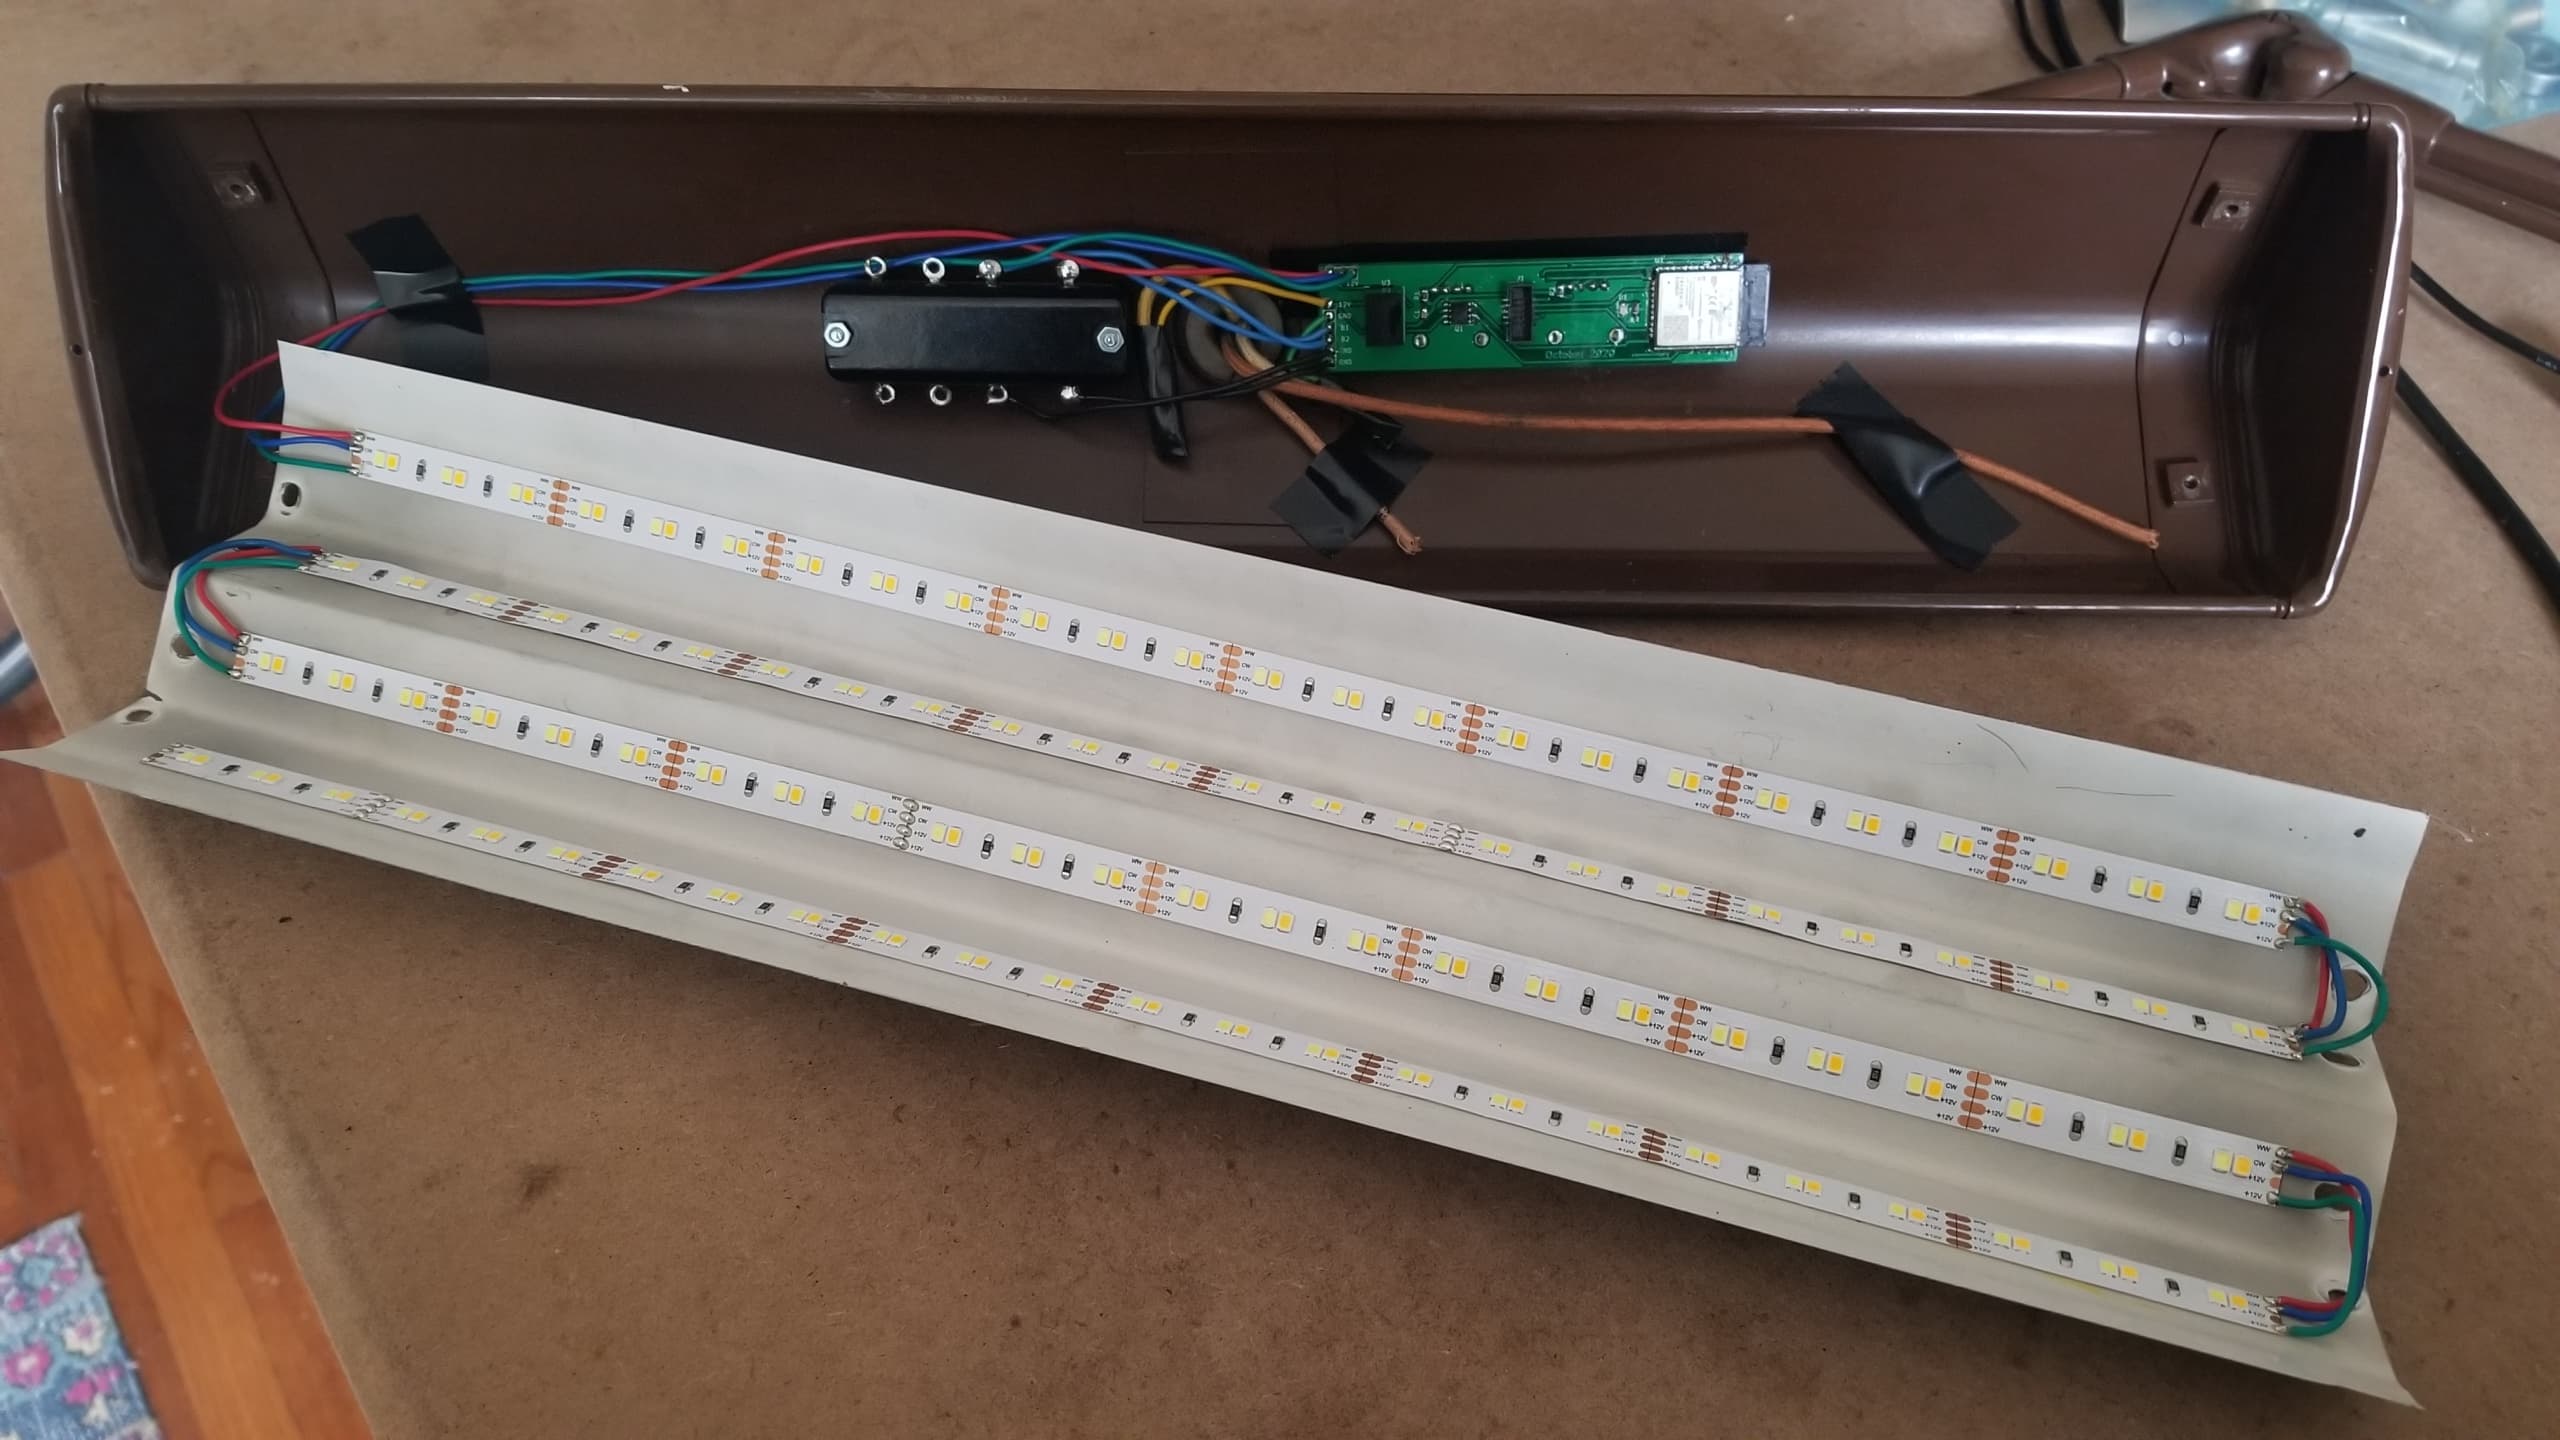
new control electronics installed
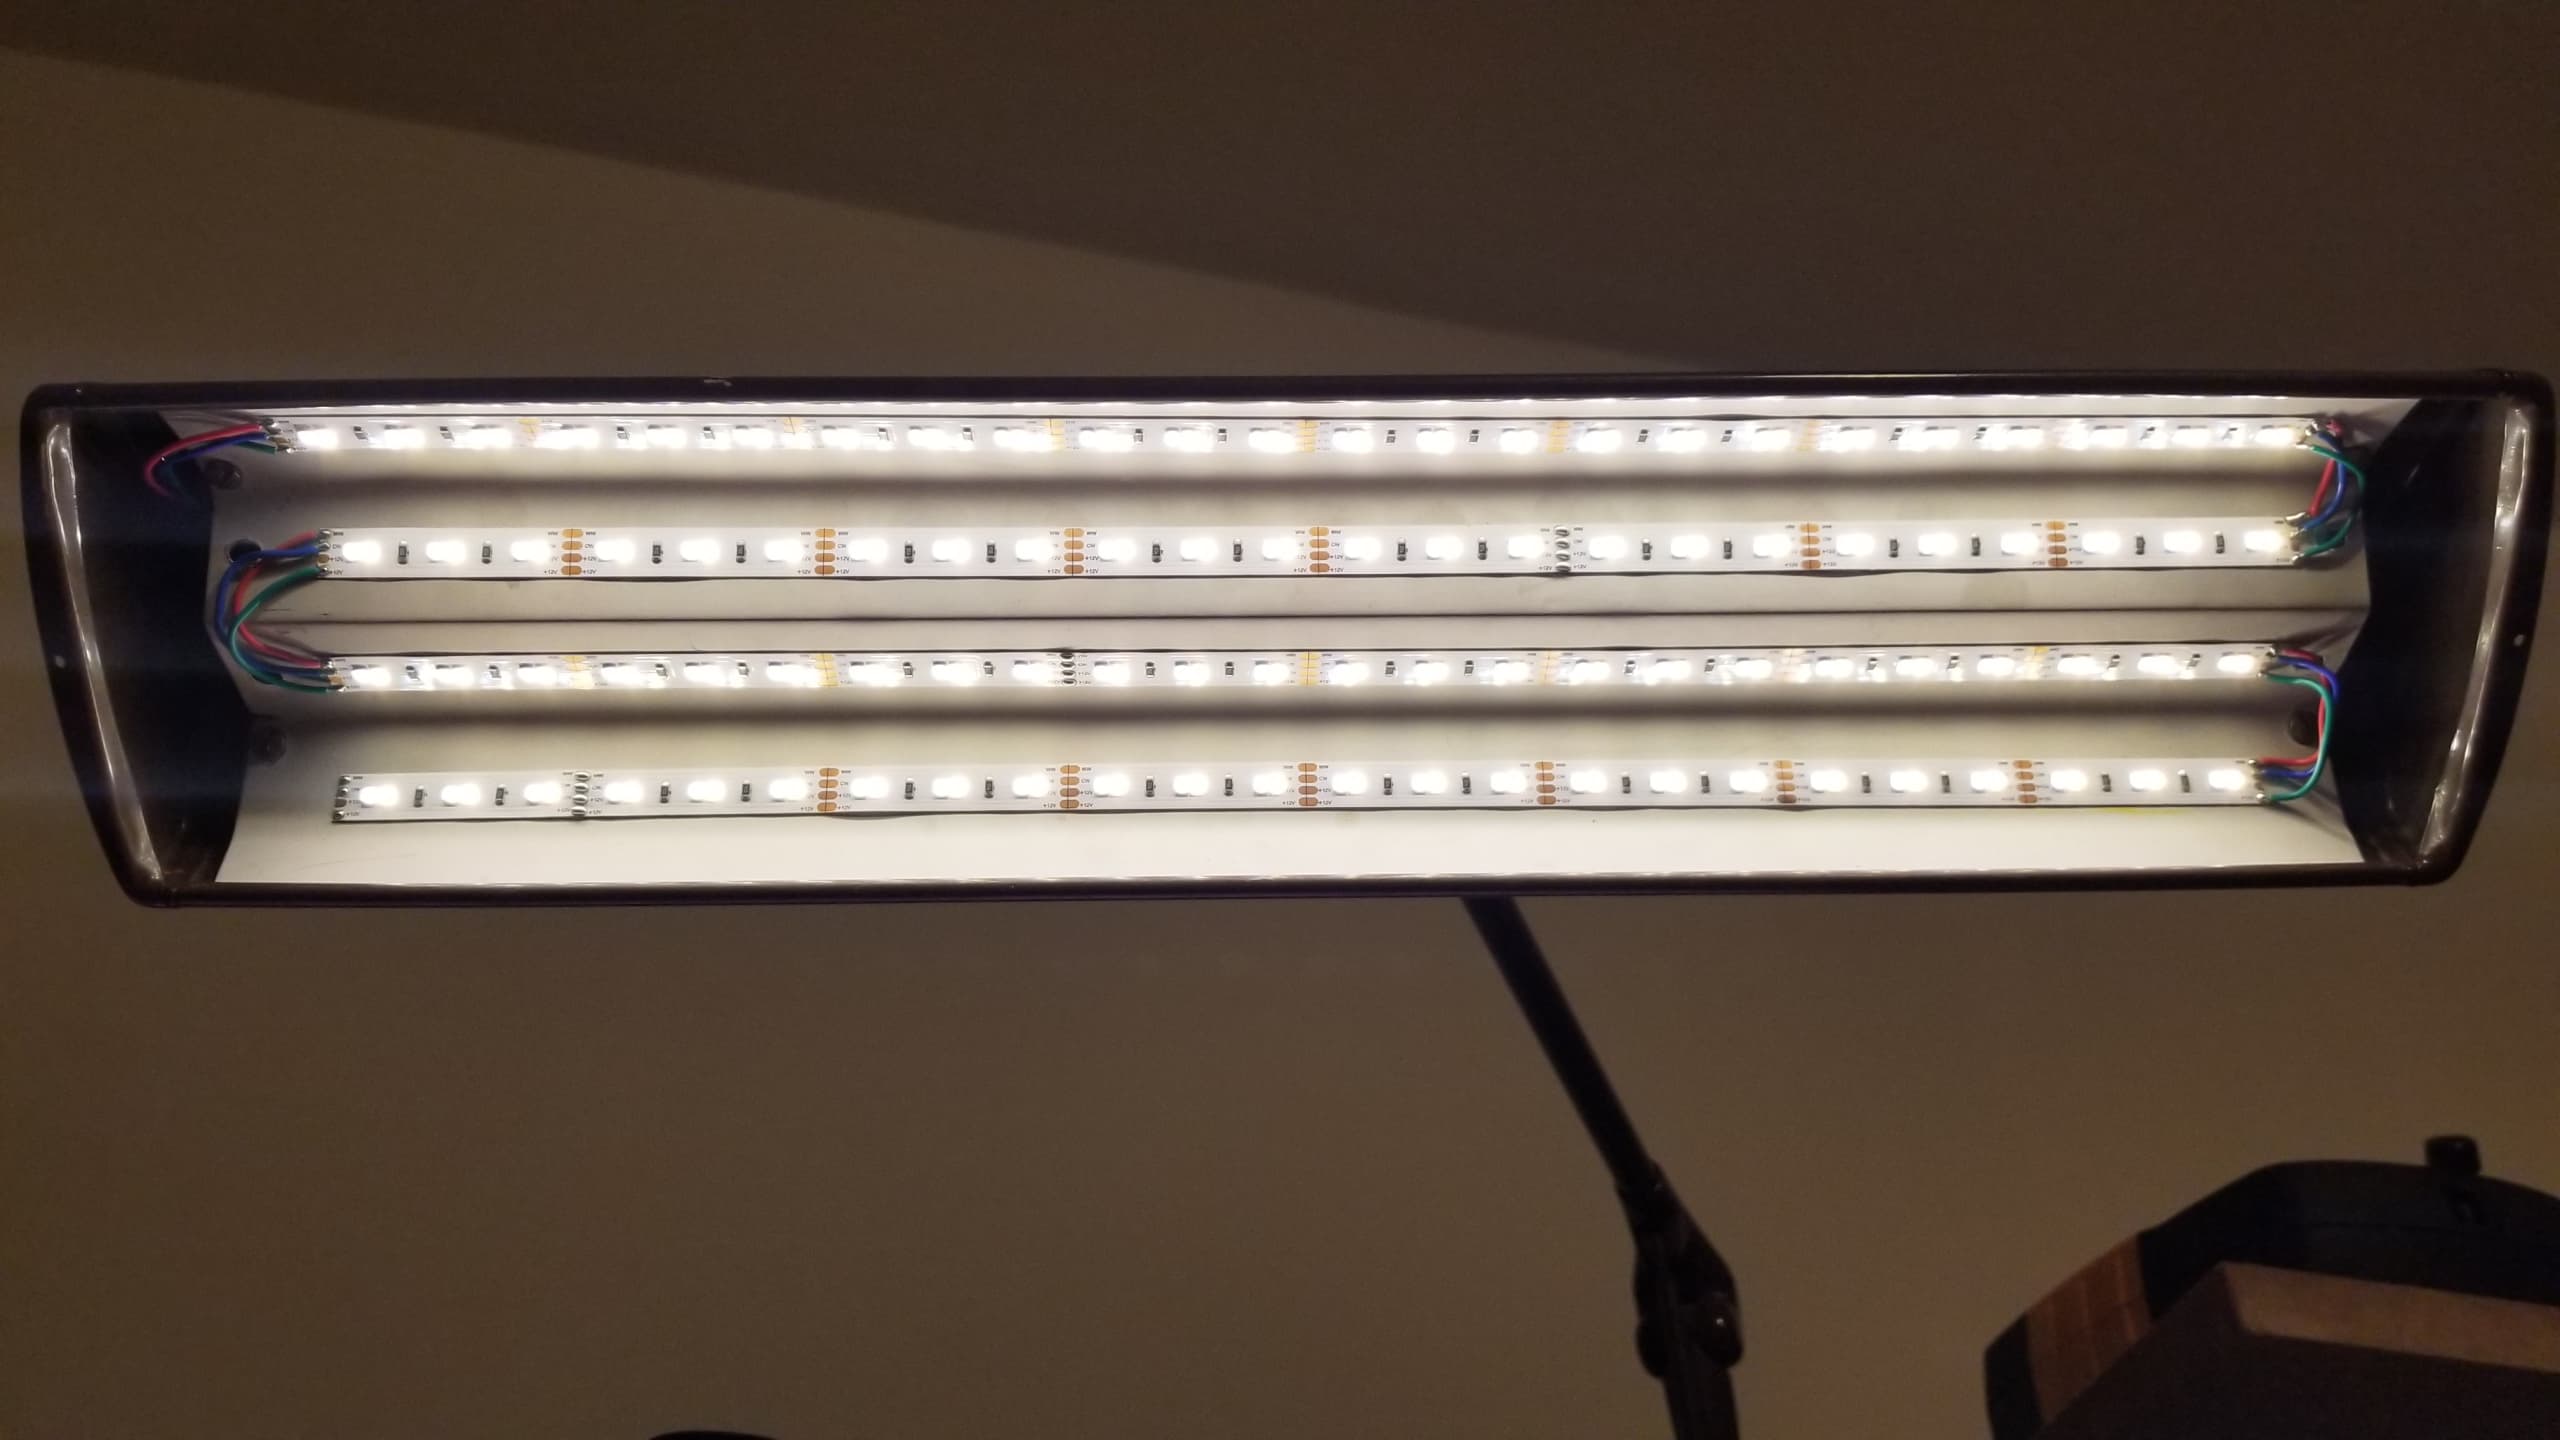
lamp on