Unitron
Background
I attended this Hackaday Supercon talk a few years ago and was introduced to the world of custom mechanical keyboards. Coming out of the talk, I was convinced that a custom keyboard build had all the right ingredients for being a super fun project. It combines electronics, software, and mechanical design while giving ample creative space to explore ergonomics, functionality, and aesthetics.
I didn’t quite feel ready to dive in and make a full keyboard, as there can be an overwhelming amount of design decisions that need to be made. Did I want a full-size split columnar Colemak layout with Cherry MX blues? Or should I go with a wireless 60% staggered QWERTY layout with low-profile Kailh browns? Instead, I planned on dipping my toes into the keyboard world by building a standard 21-key numpad. Then I remembered a project I once came across called The Imperializer by NYC CNC. It is a purpose built keypad for instantly converting between inches and millimeters. Remixing the Imperializer would be a perfect way to play with mechanical keyswitches and design a fun and useful tool. And so Unitron, the unit conversion keypad, was born.
Design and build
I like the aesthetic of segmented displays. They are somehow retro and futuristic at the same time, probably due to the fact that they’ve been used for time traveling circuits since the 80’s.
Proving components work
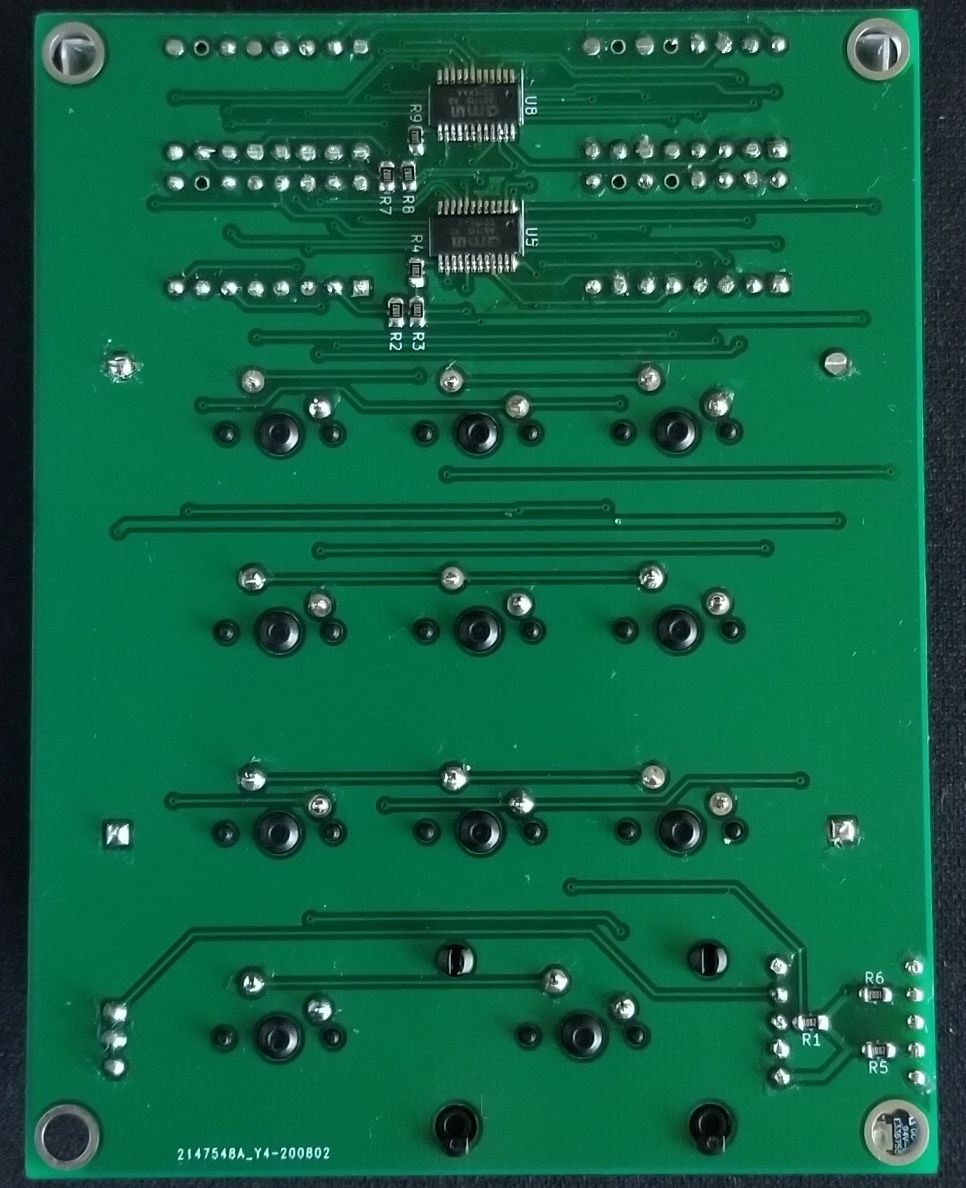
I started by trying to get the AS1115 IC working. This chip is super cool in that it can drive up to 64 LEDs while also being capable of monitoring 16 inputs. What’s more, is that you could chain multiple of these ICs together to drive even more LEDs.
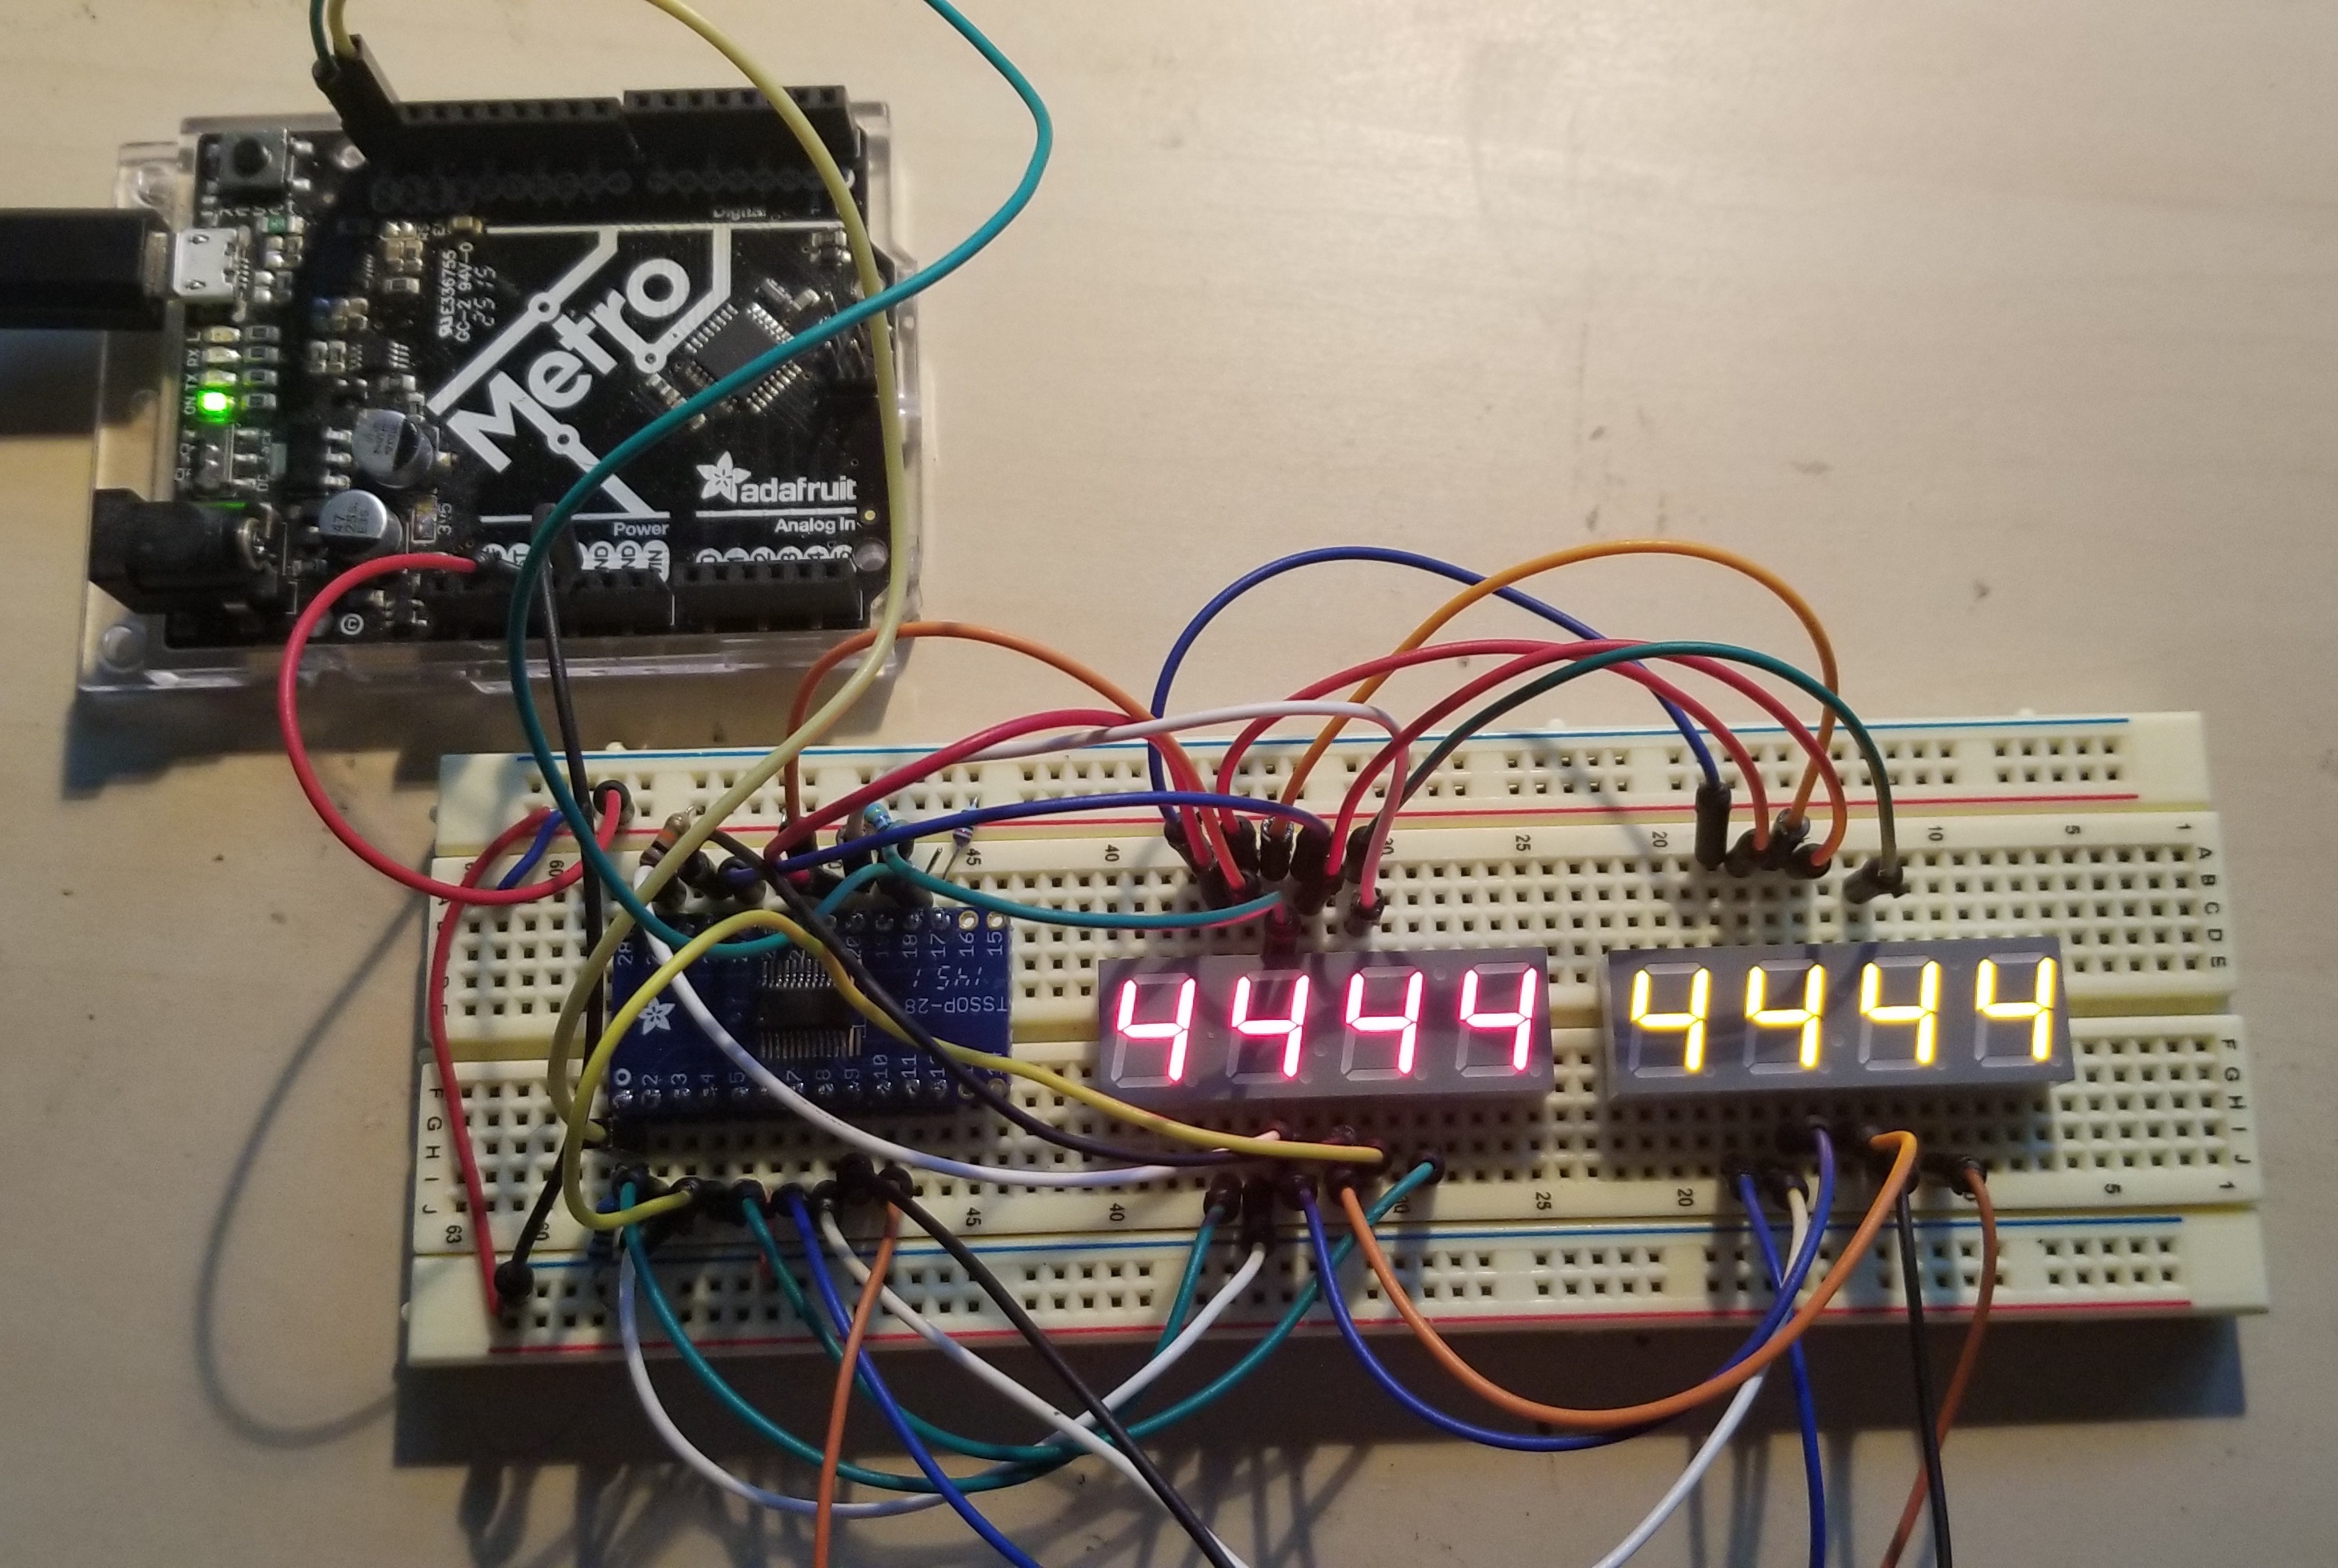
getting the 8 digits of the 7-segment displays working using the AS1115
chaining a second AS1115 to drive another row (8 more digits) of 7-segment displays
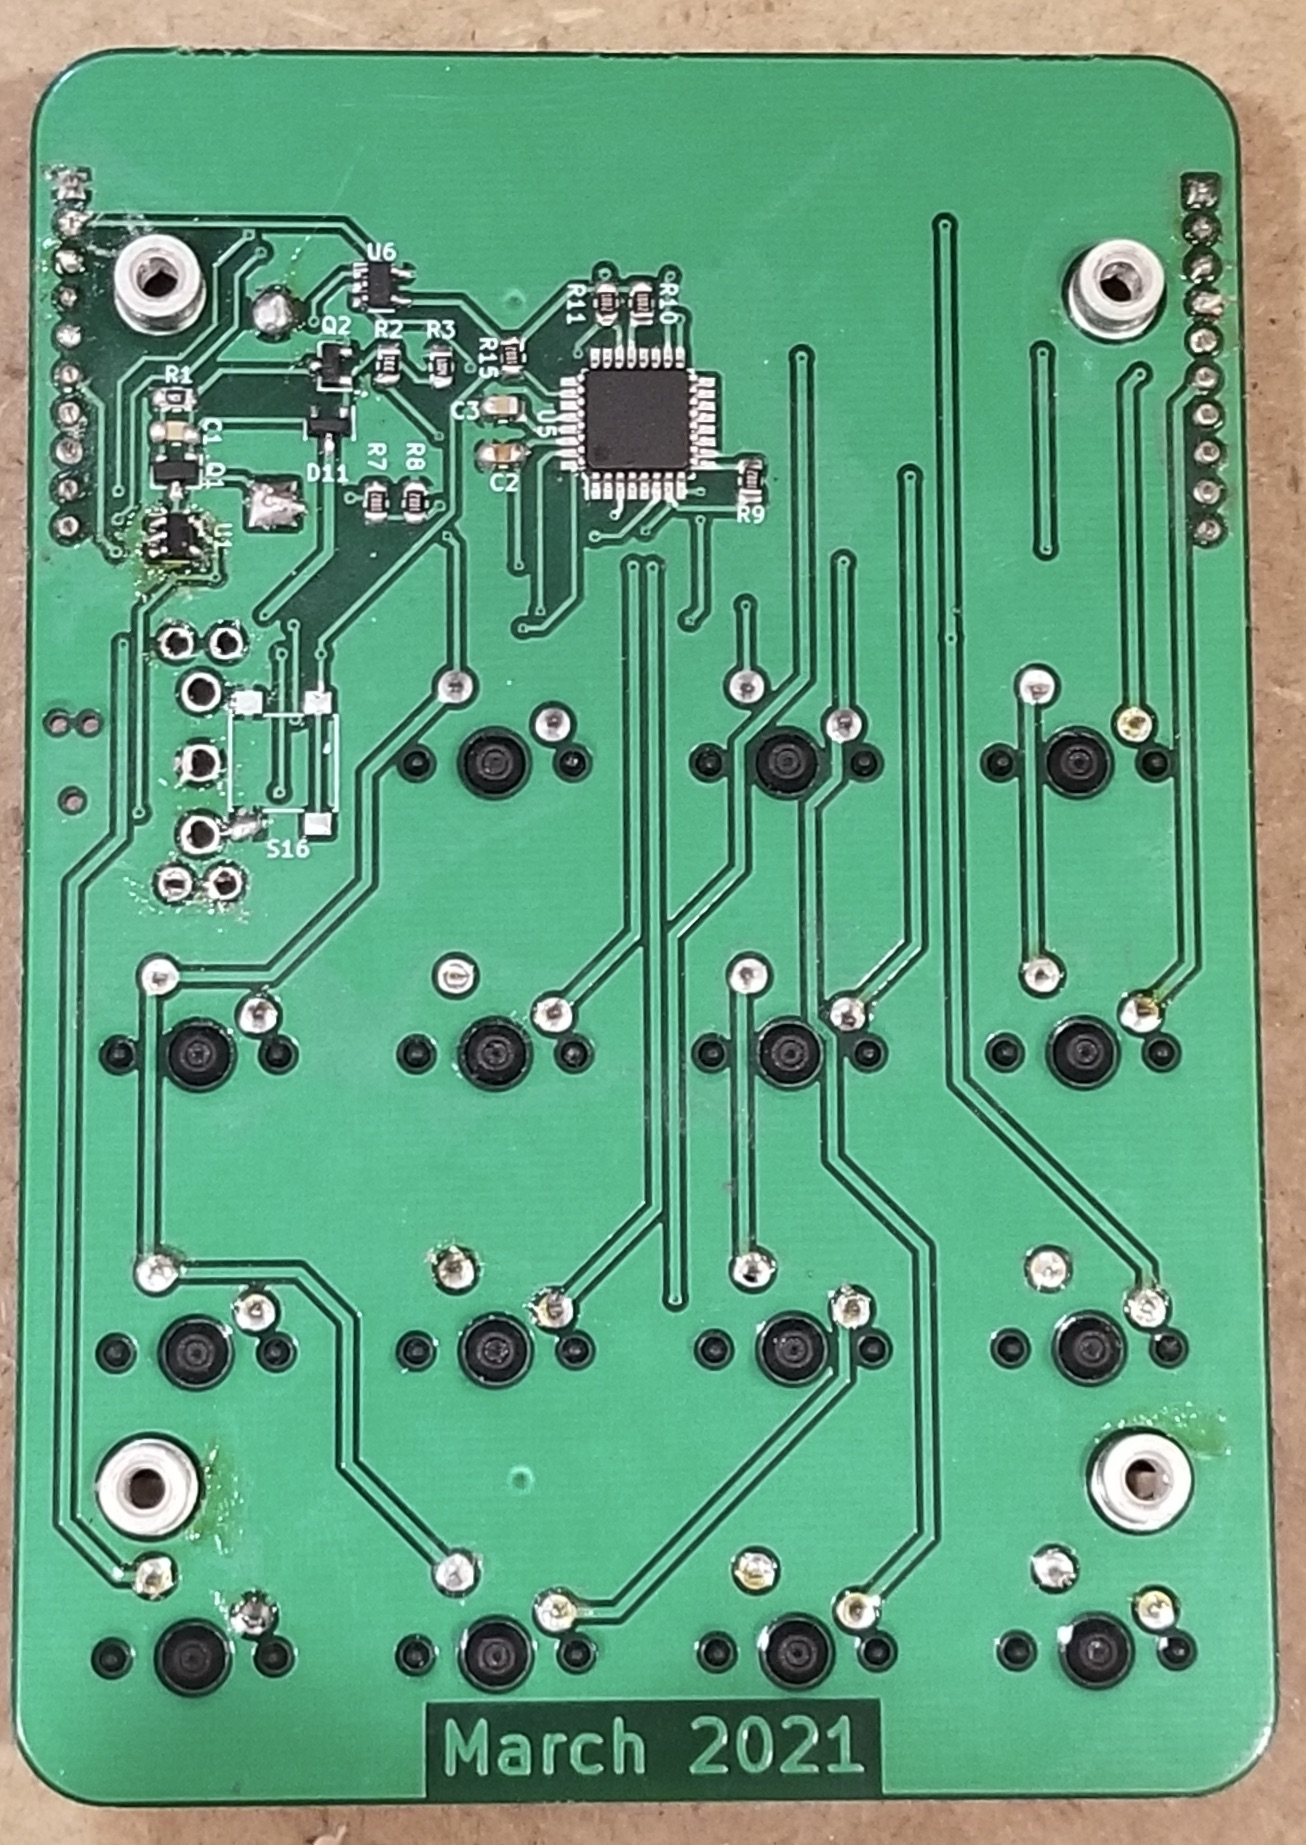
tidying up the wiring and transferring to a perma-proto board
Initial form factor
Once I established that the AS1115 chip was going to work, I began refining the form factor of the device. I used a Trinket MO for the brains and powered the device with two AAA batteries.
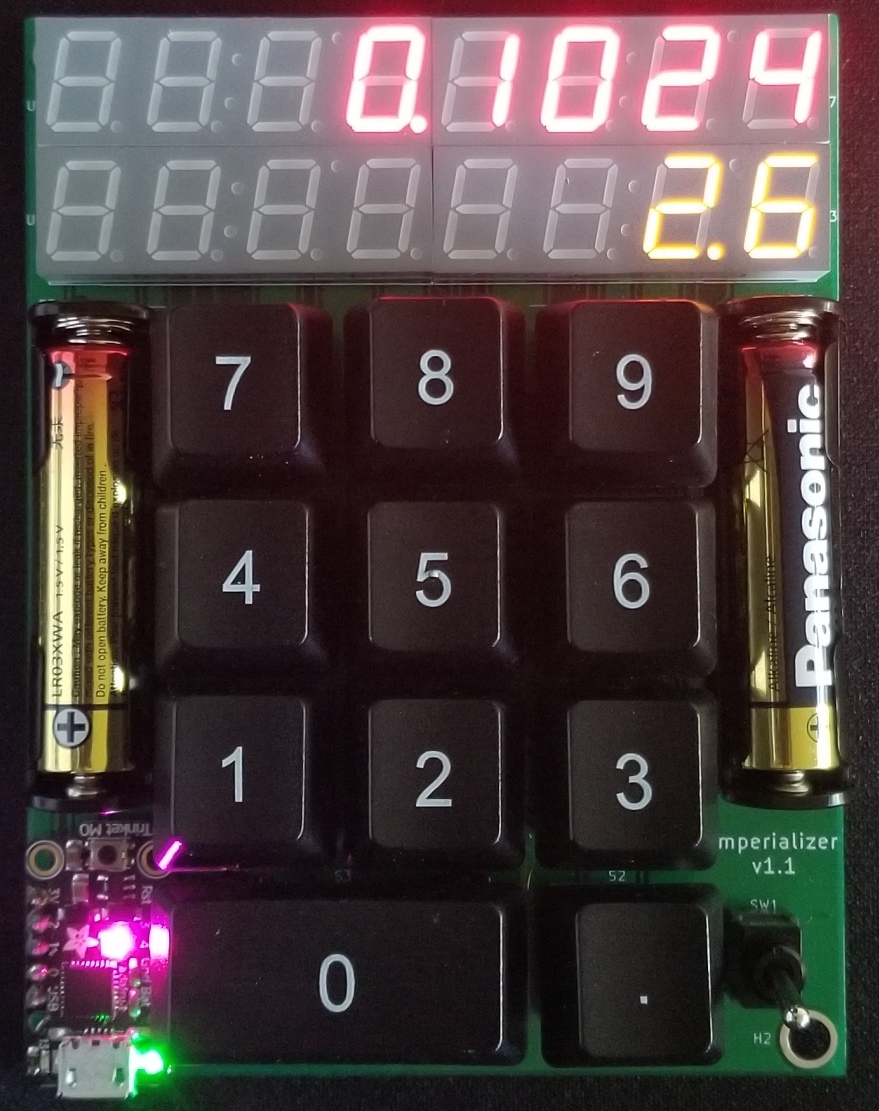
Adding more conversions
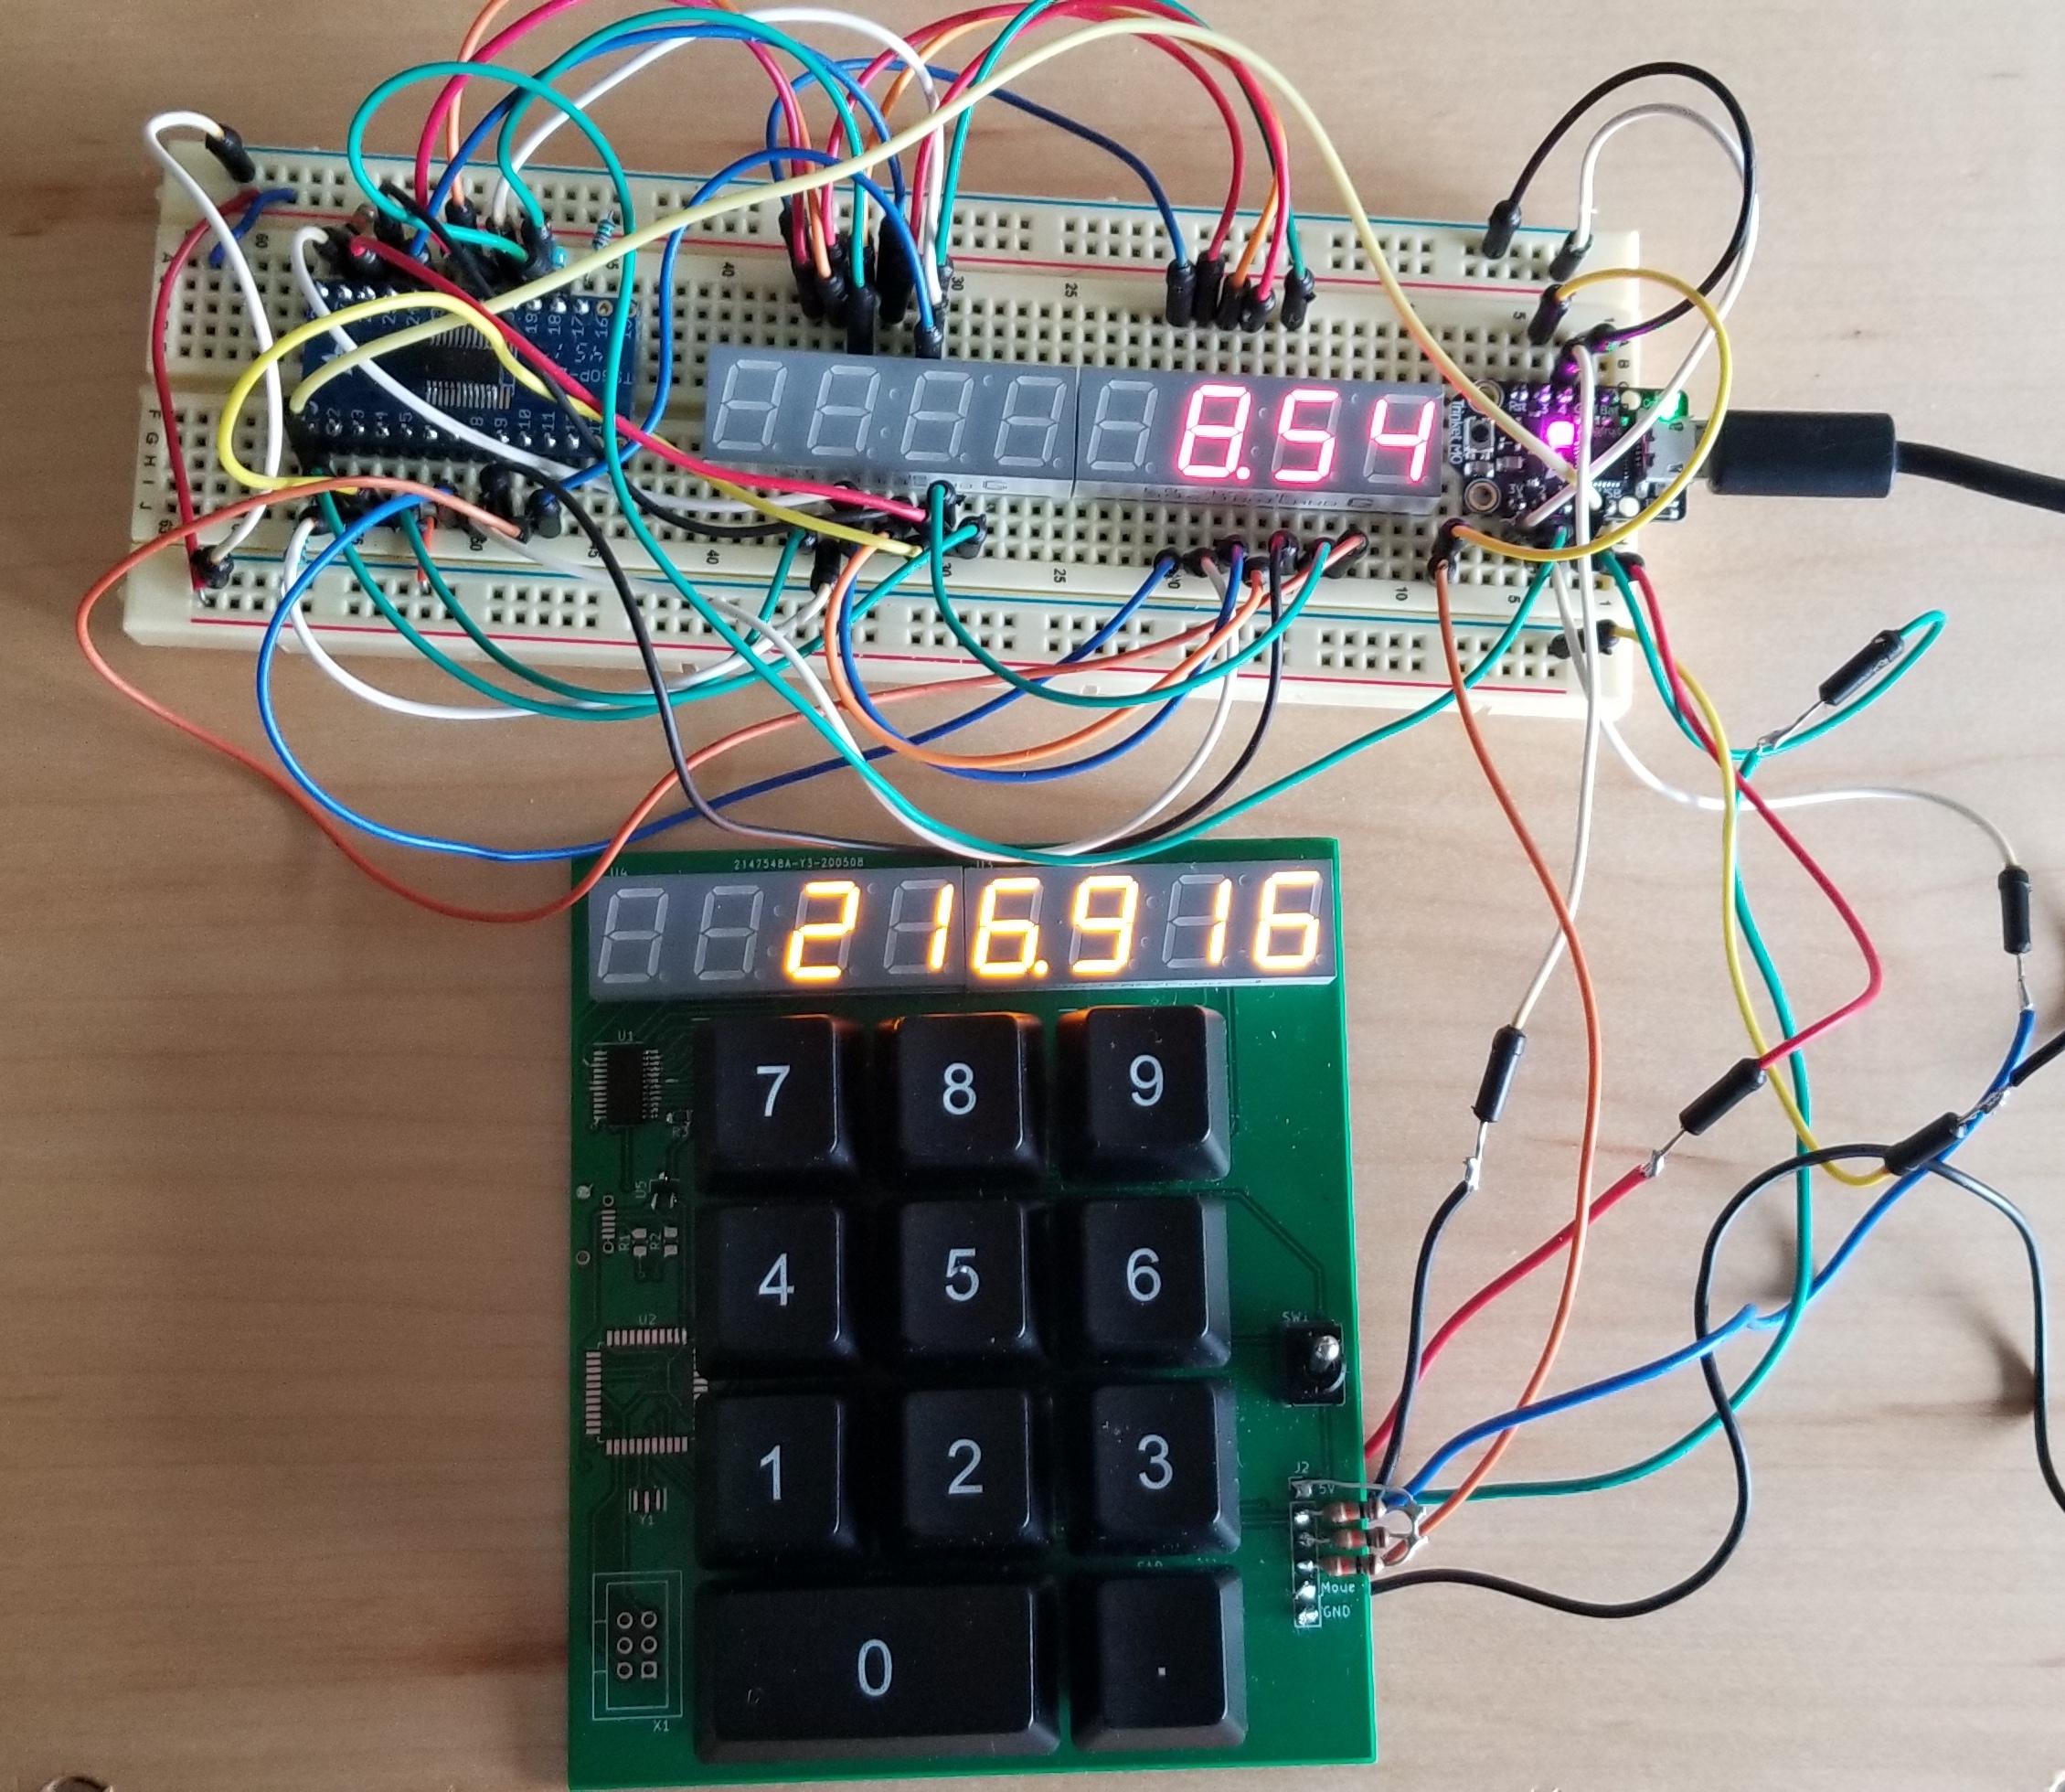
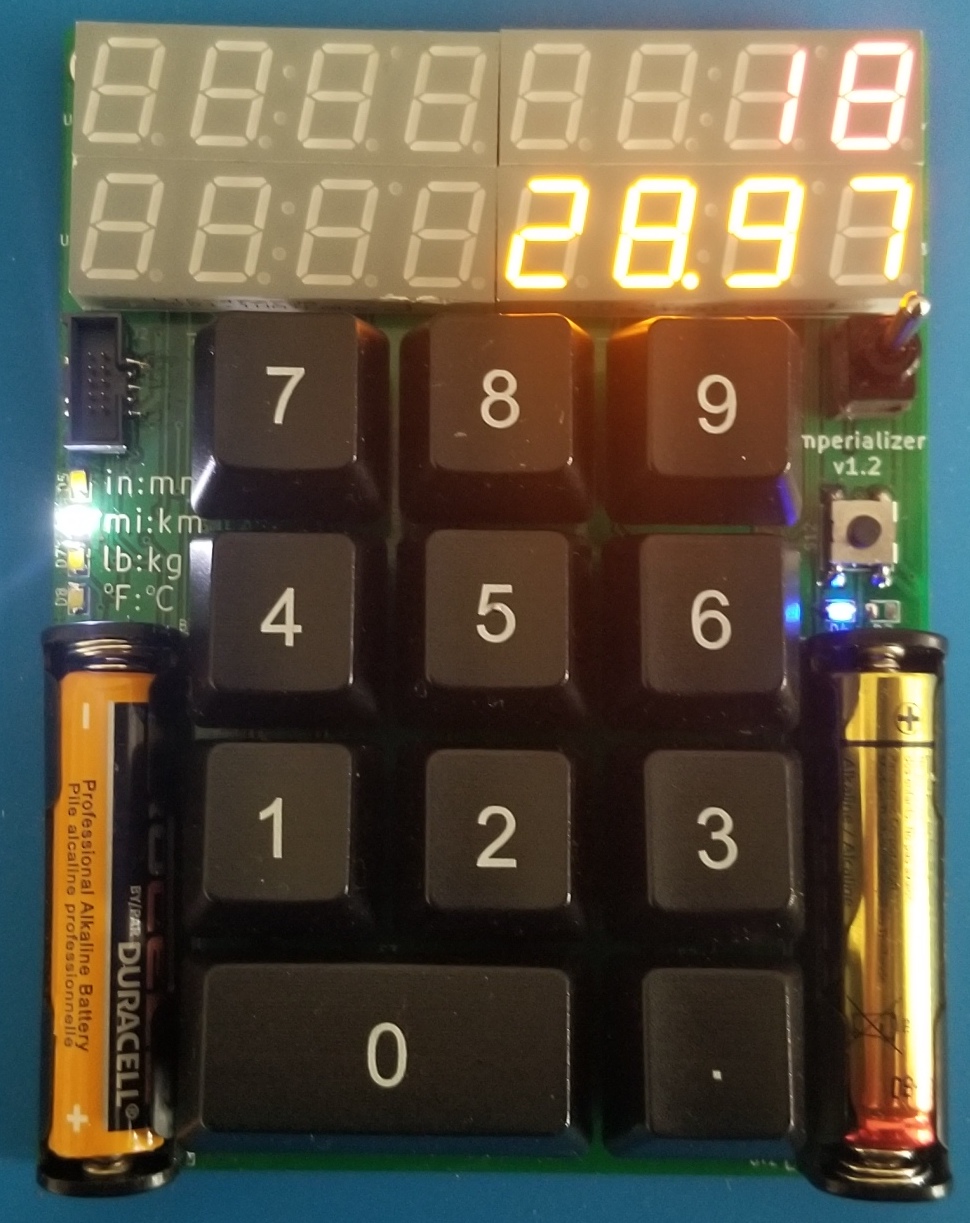
I thought the device shouldn’t just be limited to a single inches –> millimeters conversion, so I added 4 LEDs and labels to indicate which units were currently being used and programmed it to have multiple conversions. Pressing the small button on the right side let the user cycle through the conversions. To make space for everything, I removed the Trinket, and put an ATSAMD21E18 on the backside of the PCB.
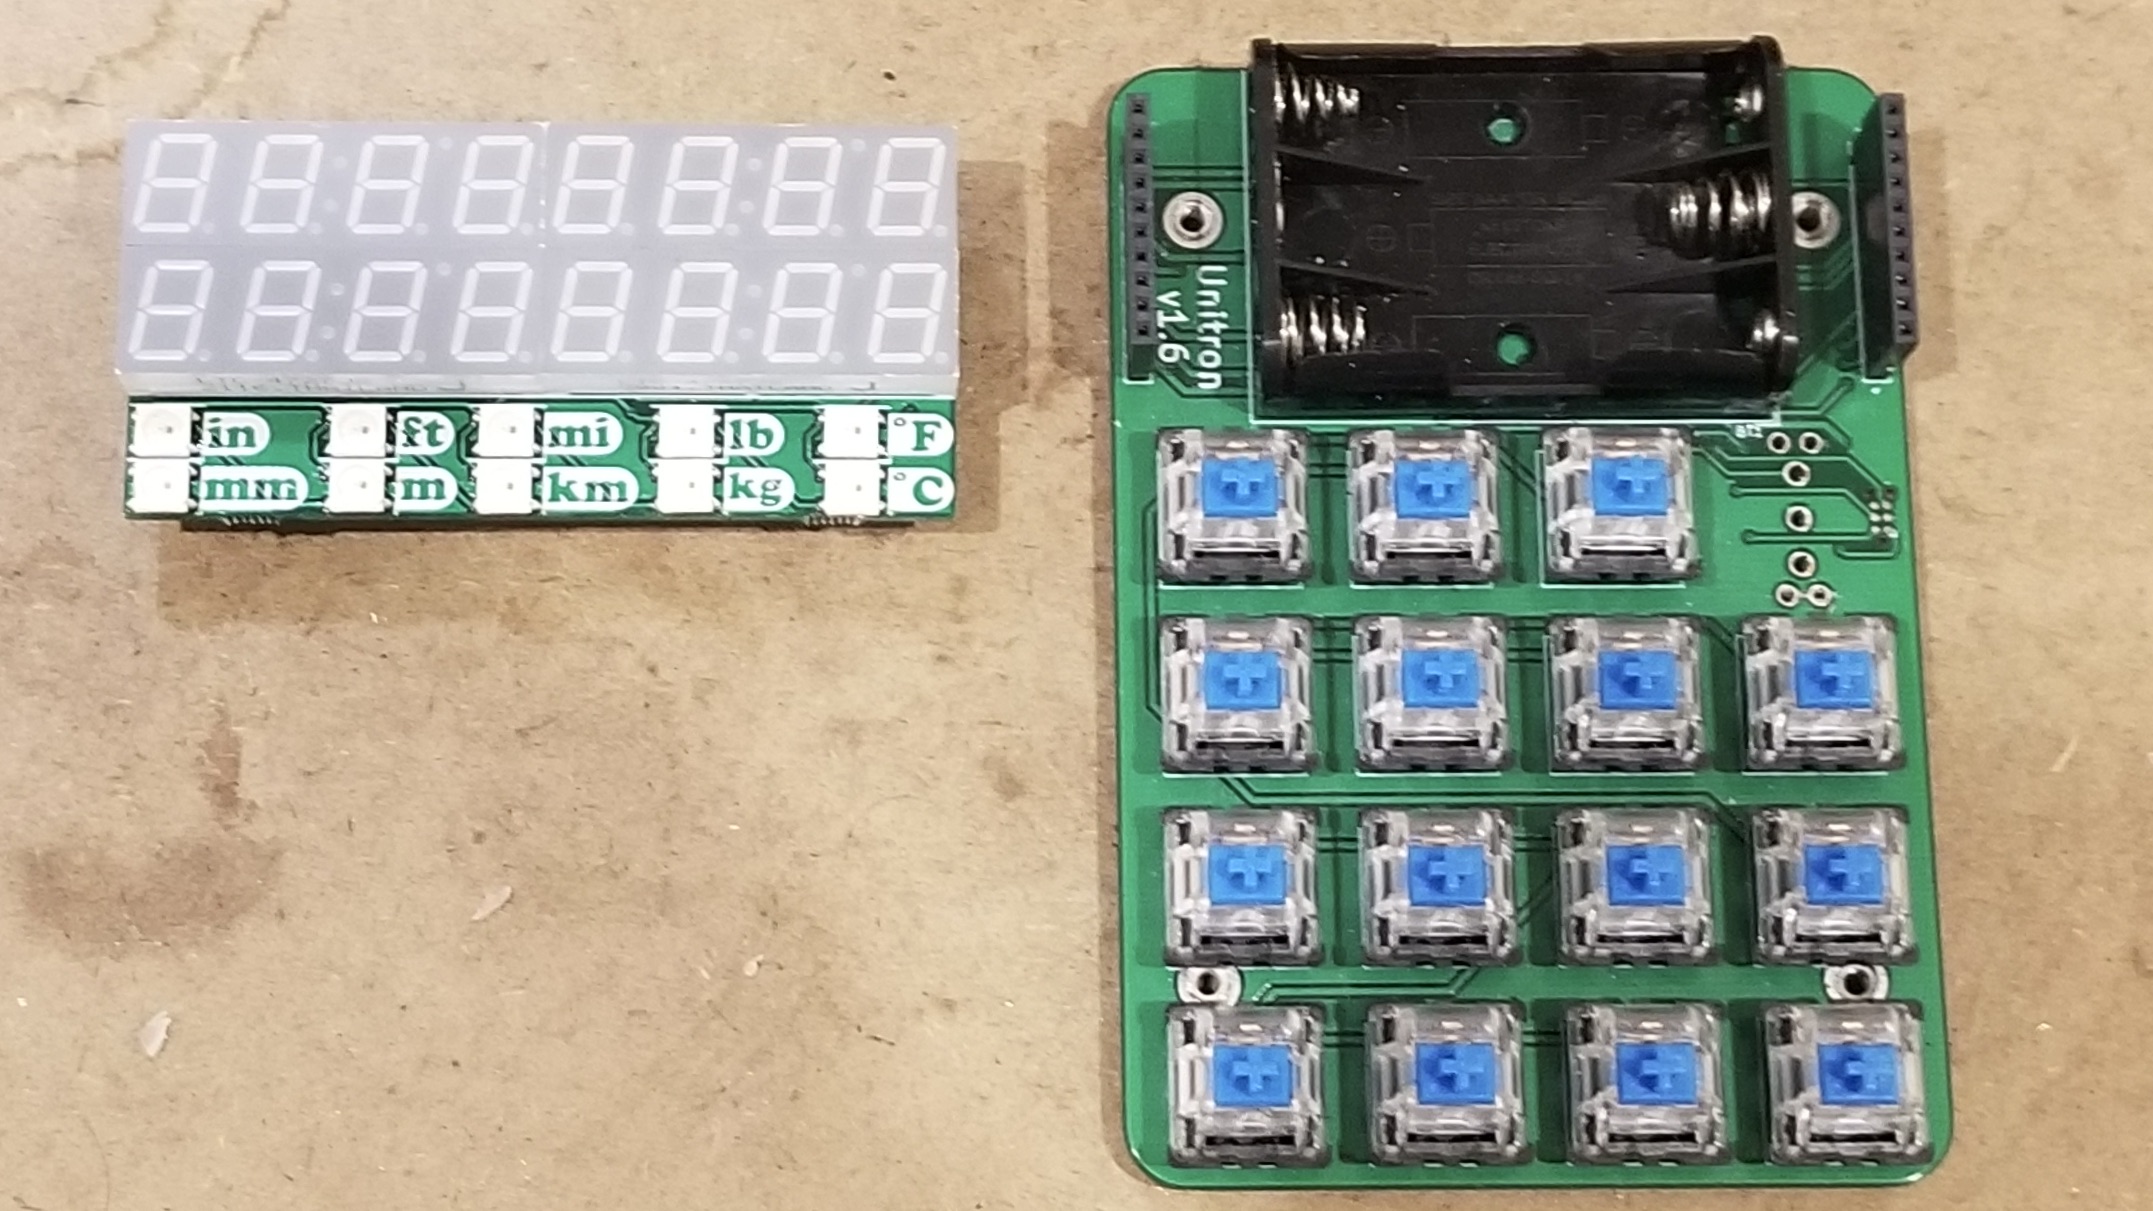
Separating the display
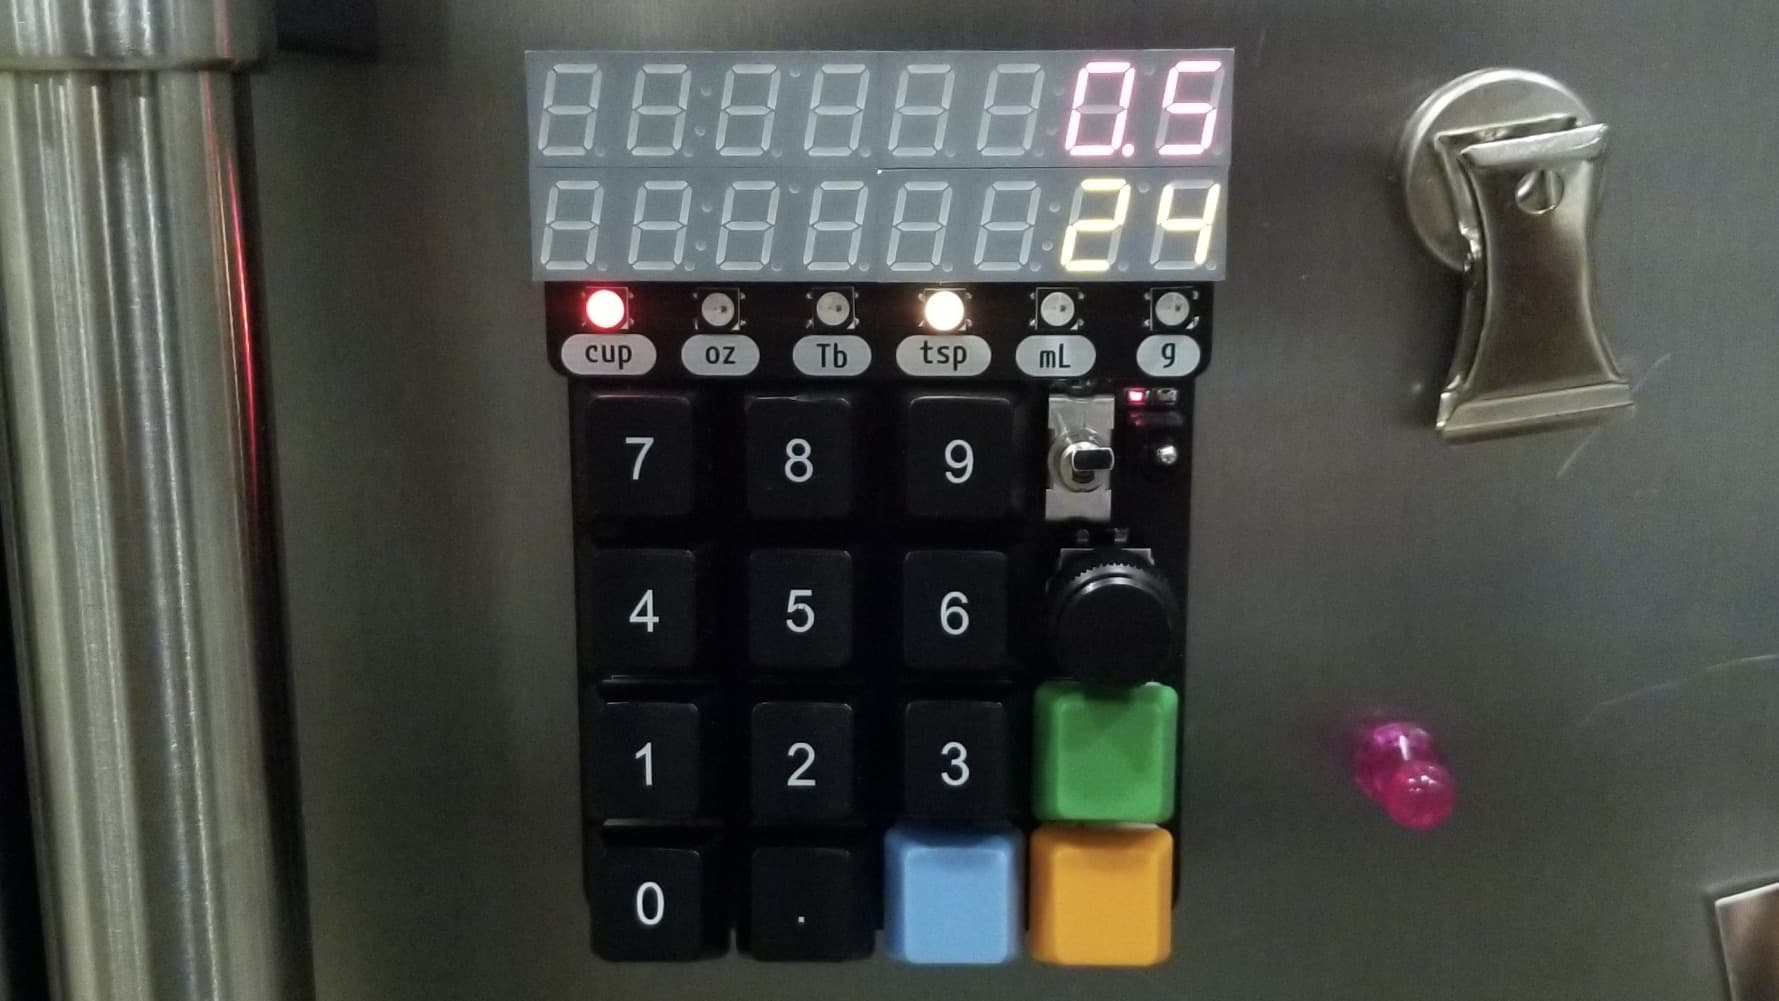
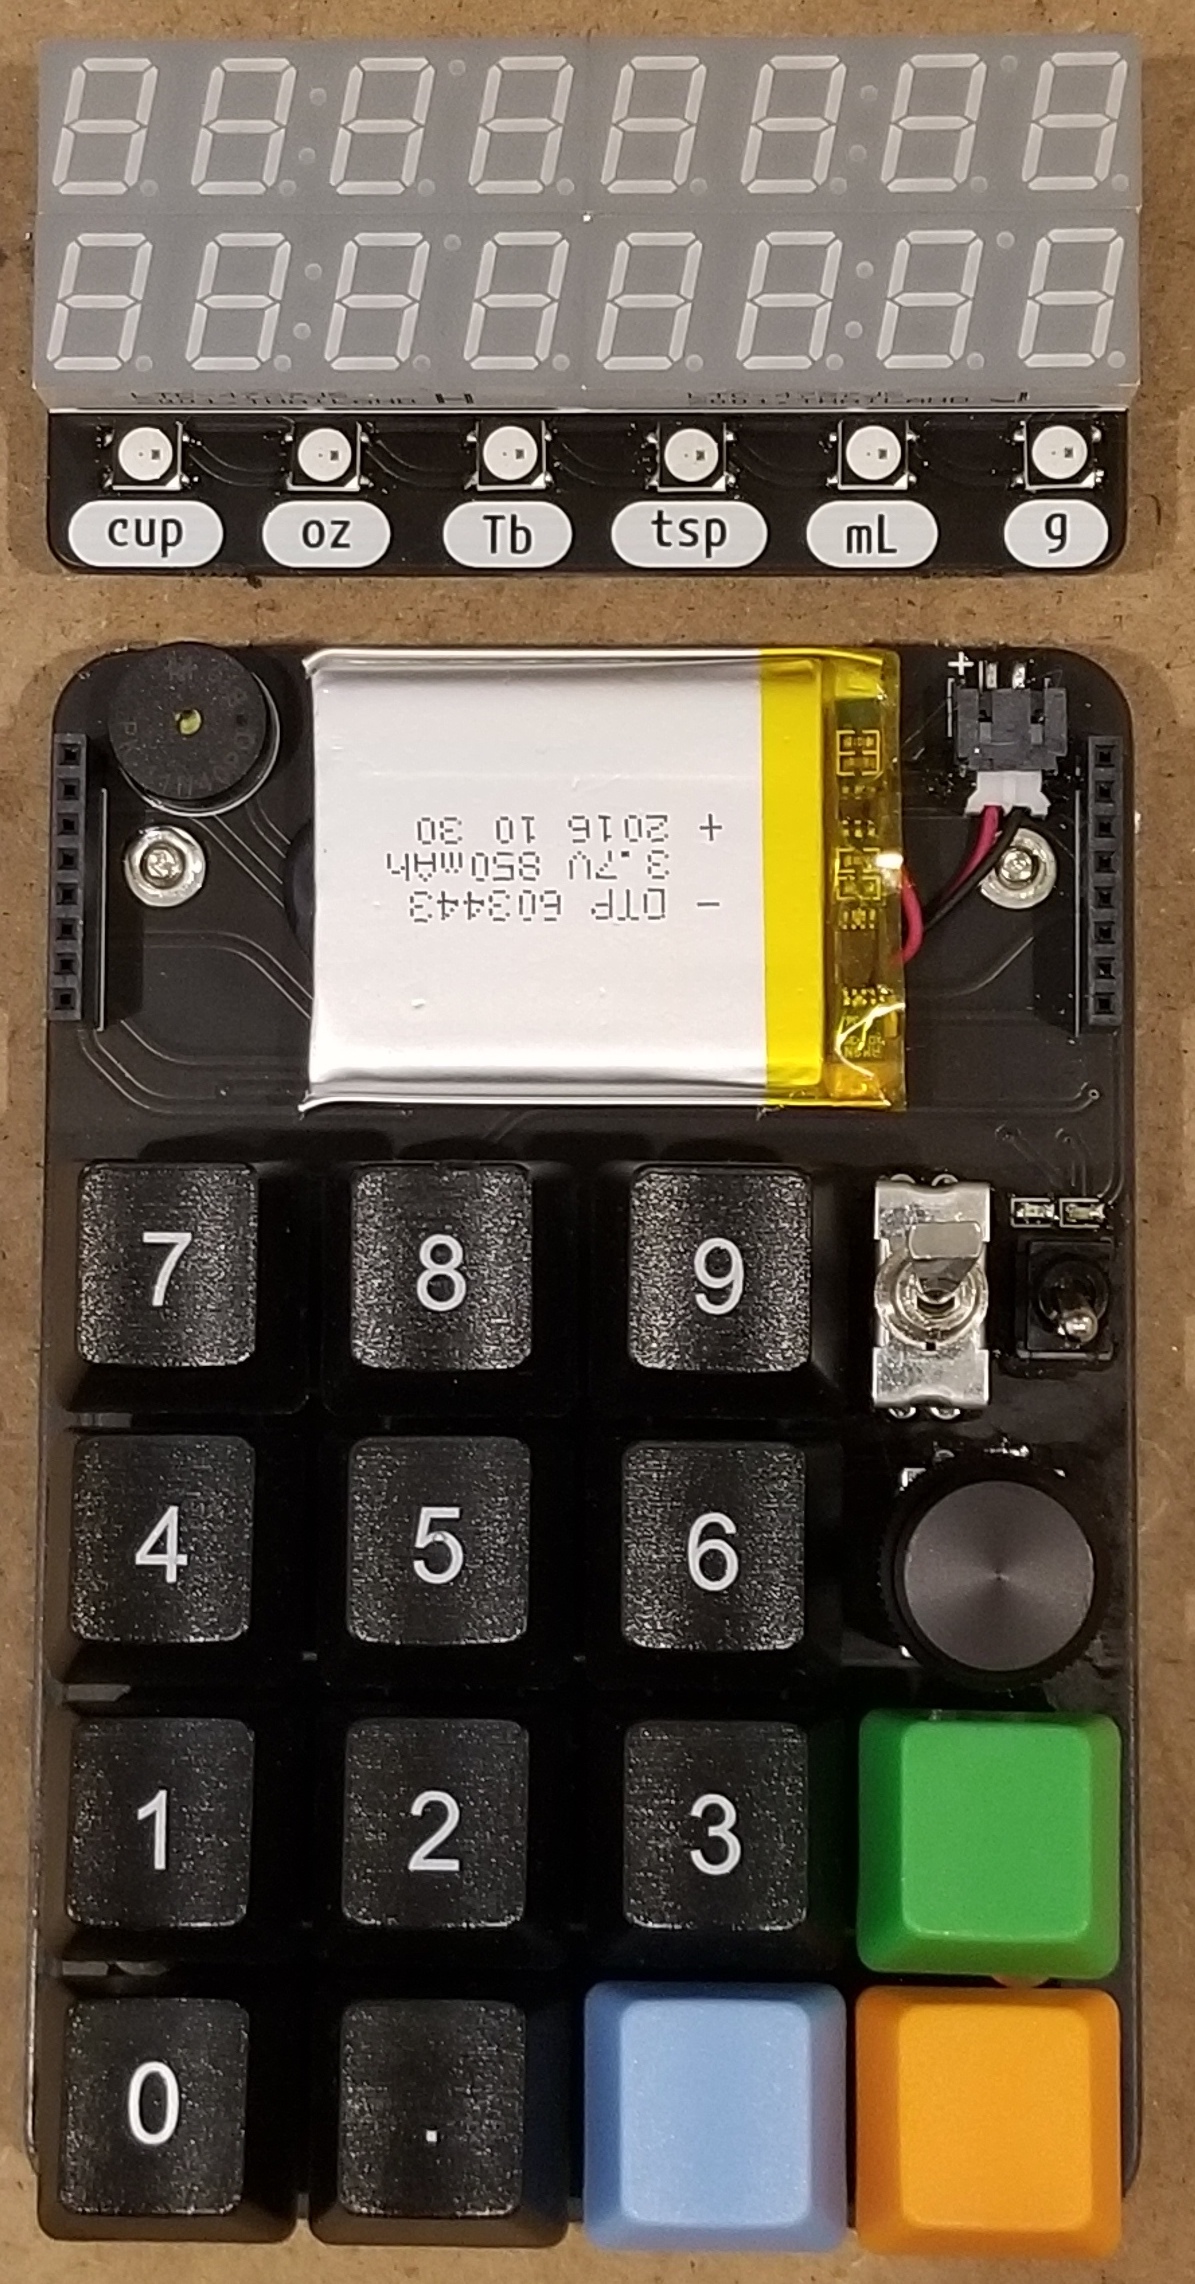
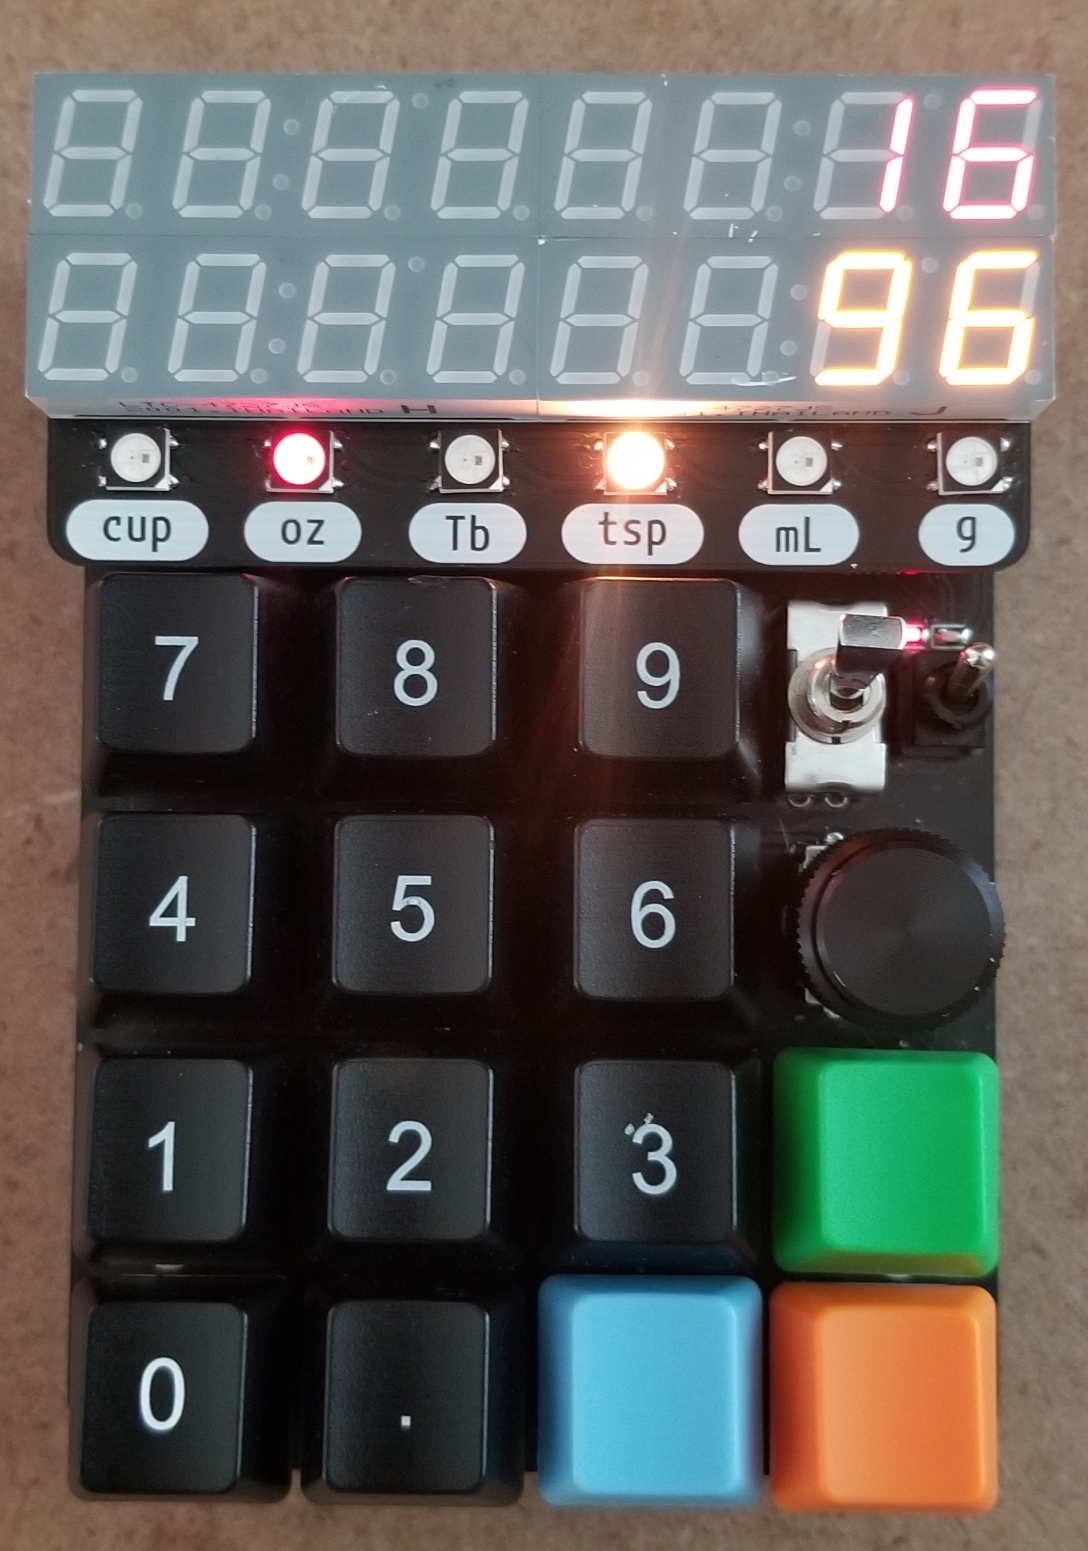
Moving the displays onto a separate PCB provided several benefits. Three batteries could now go underneath the display, making room for another column of keyswitches. There was room for more conversions as the indicator LEDs and labels now spanned the entire width of the device. I made two rows of addressable RGB LEDs that would match the color (red or yellow) and position (top or bottom) of the 7 segment displays, thereby better communicating which number corresponded to which unit.
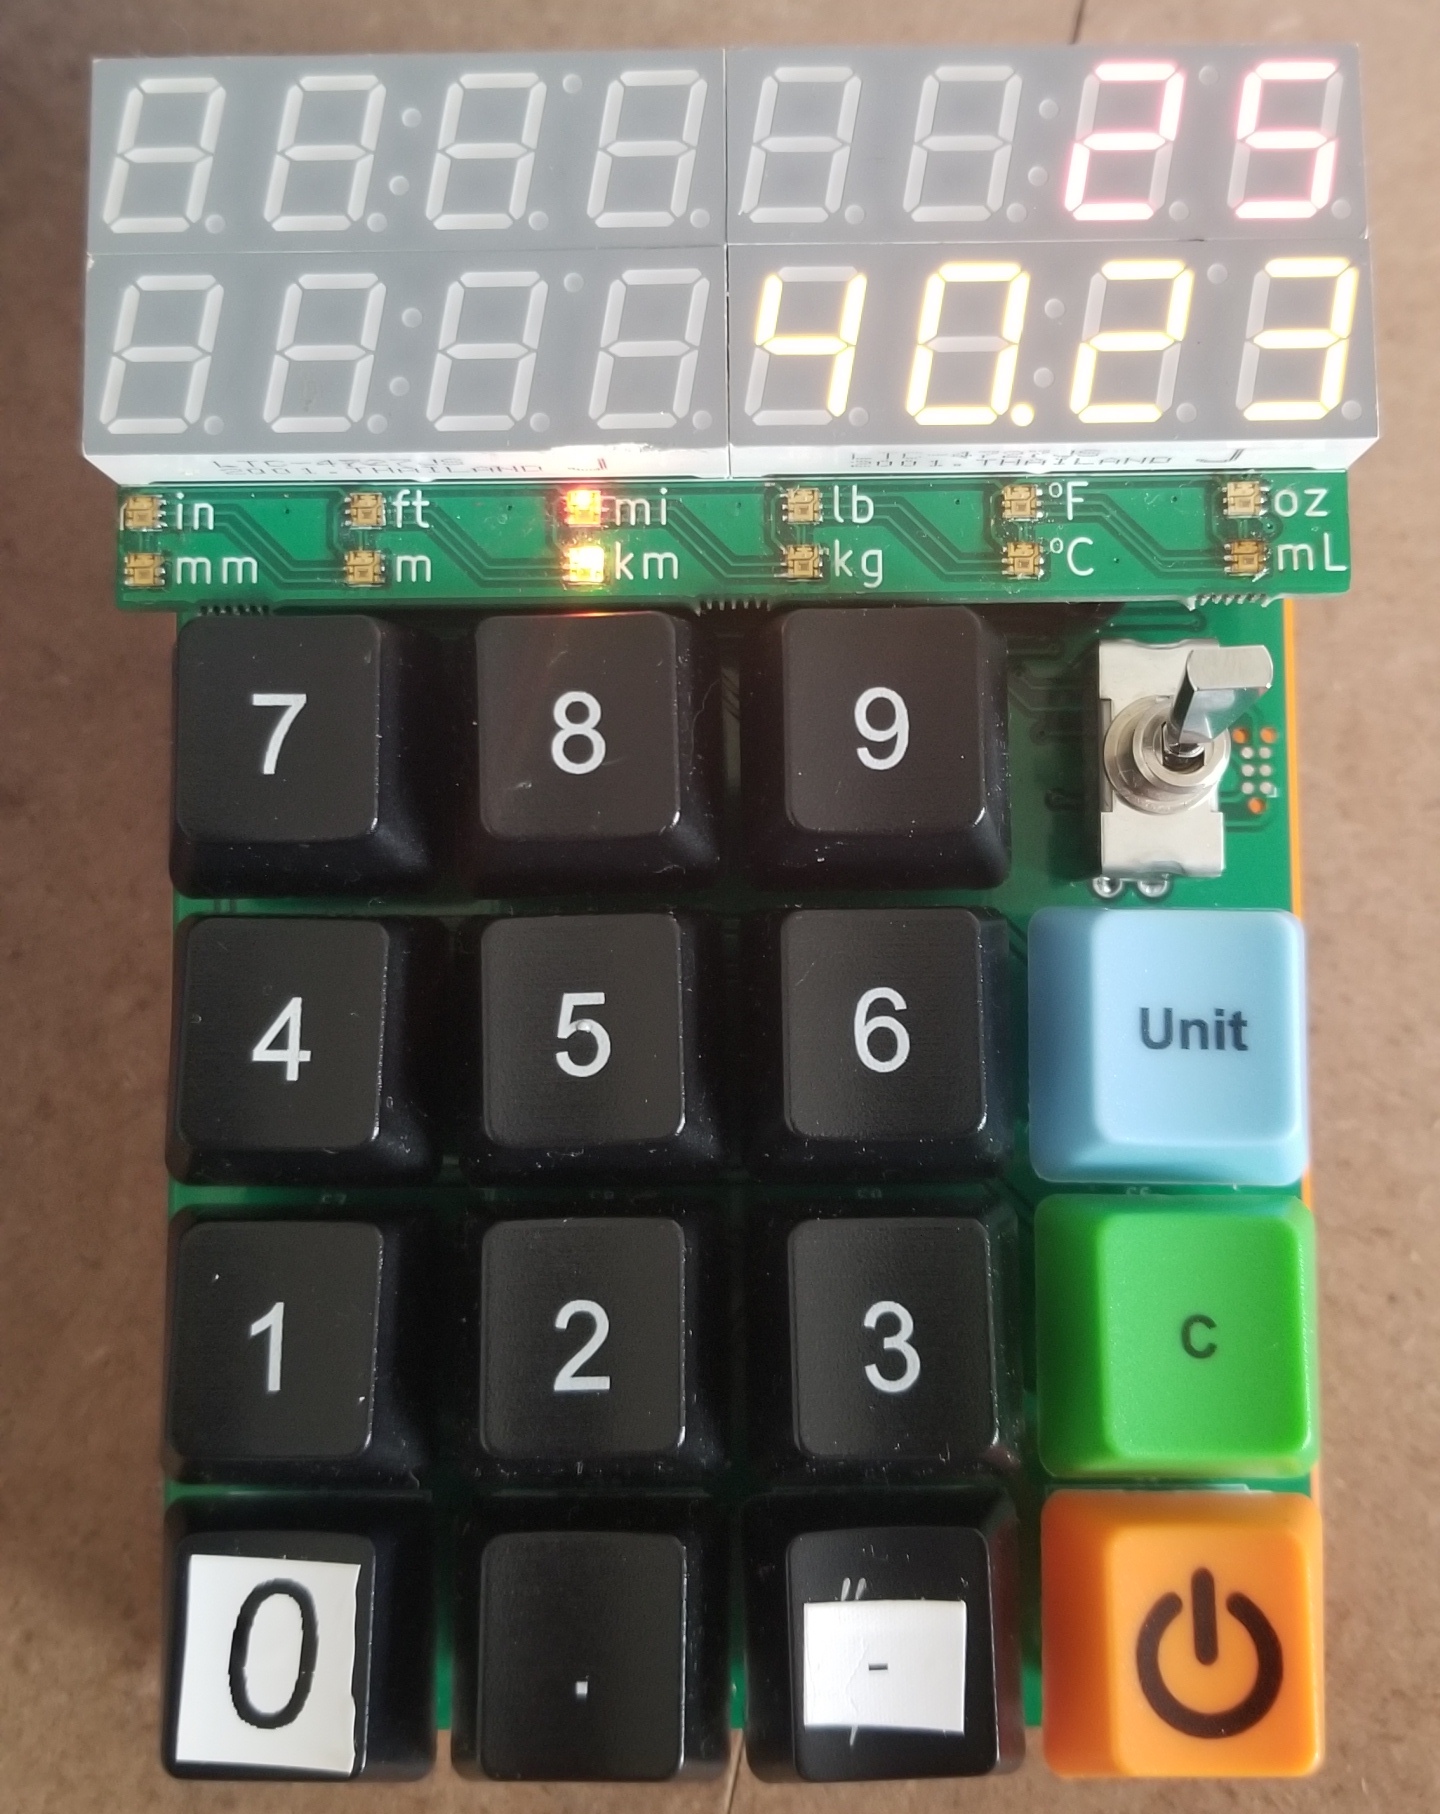
The labels and LEDs were too small

Switching to QT Py form factor
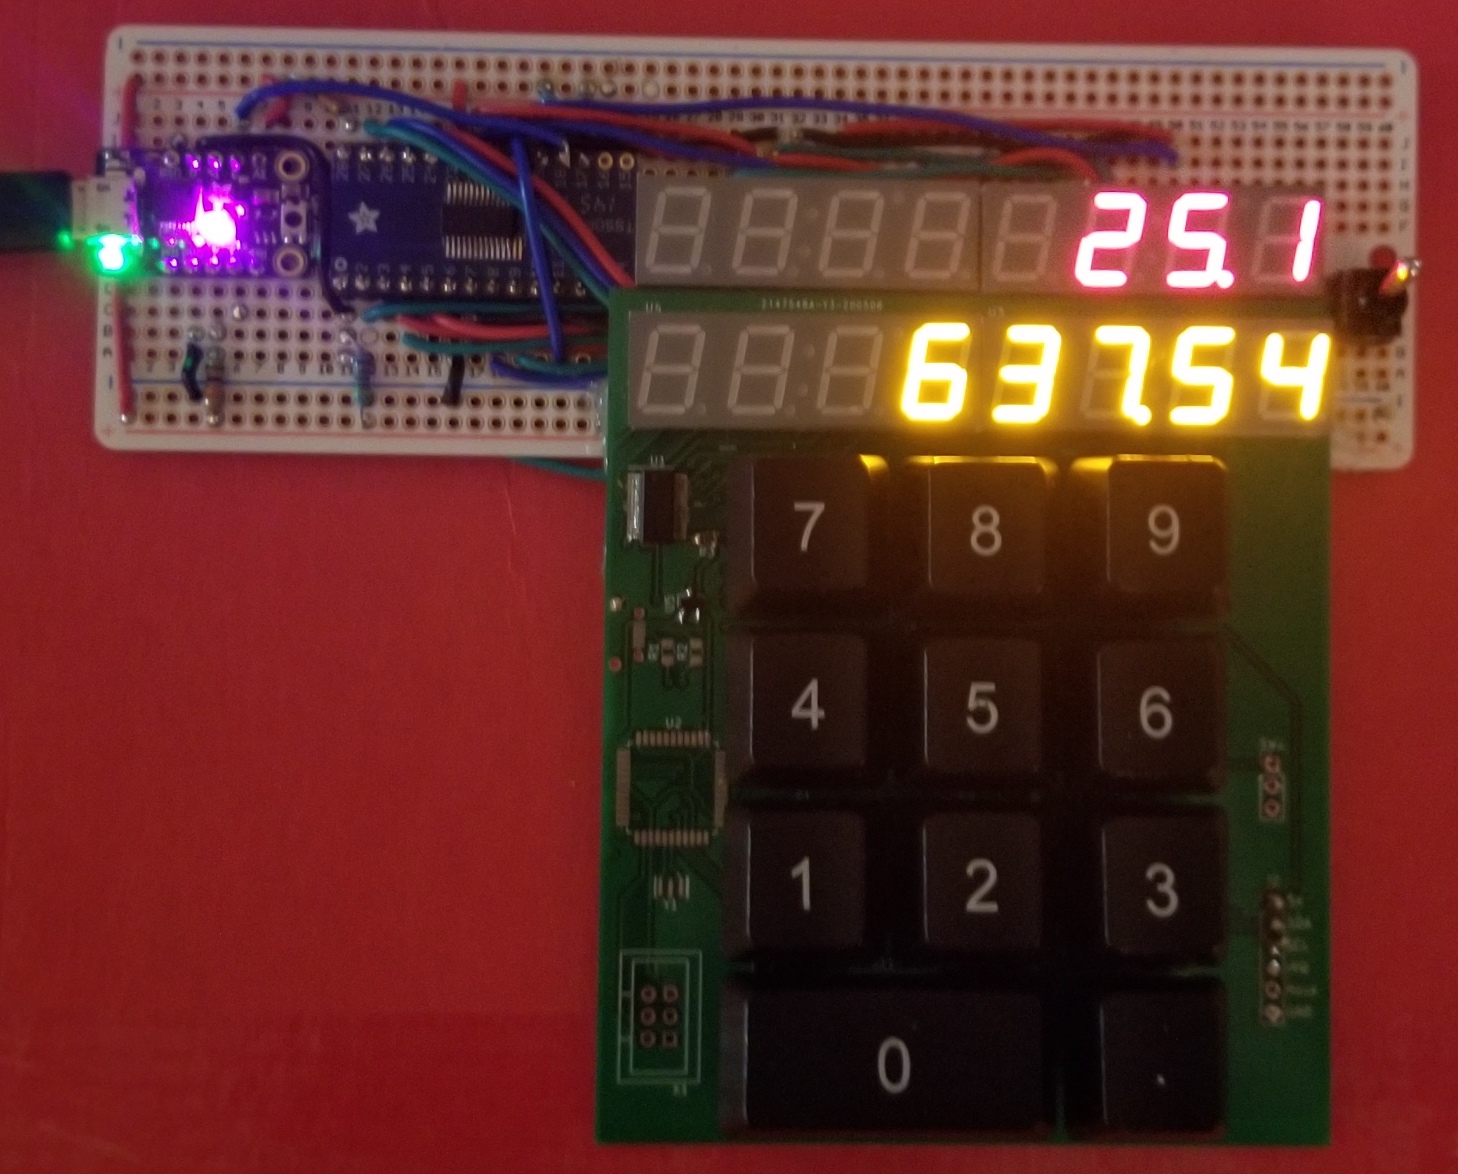
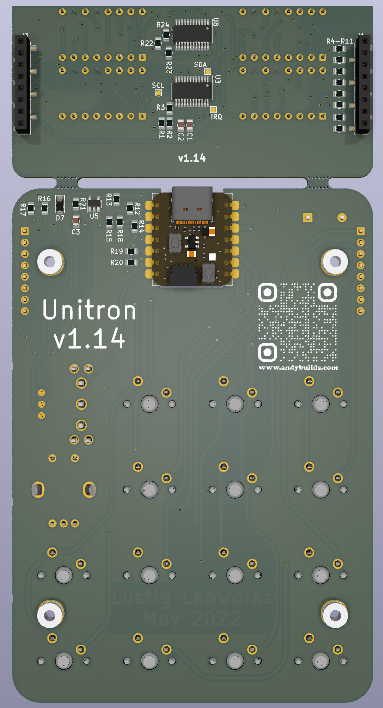
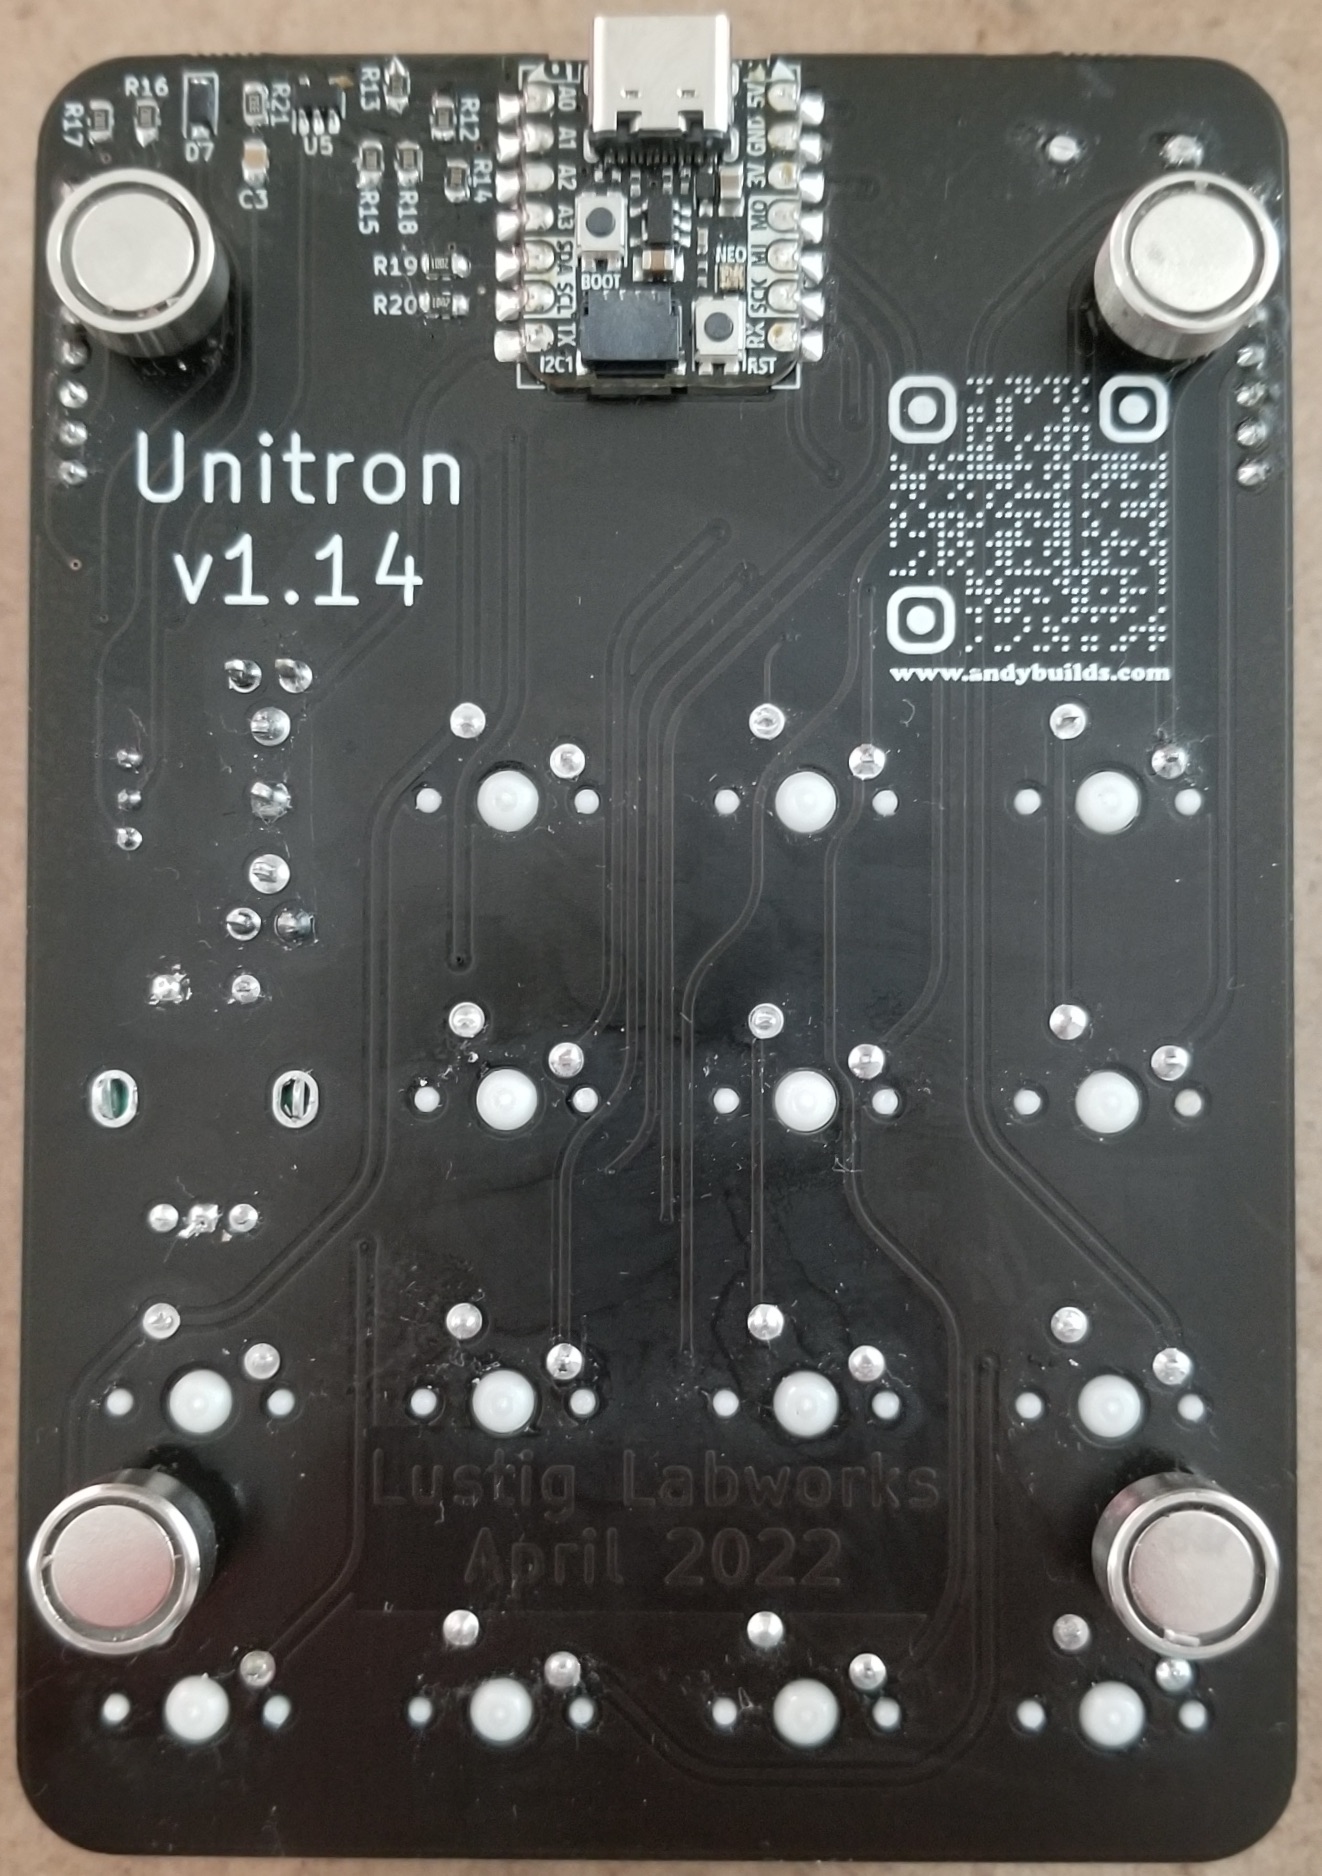
The ATSAMD21E18 became unobtainable due to the chip shortage set off by the pandemic. I therefore switched to using a QT Py RP2040. There are several pin equivalent boards that also run CircuitPython, so I could potentially change to a different one if I wanted to add wifi or bluetooth.
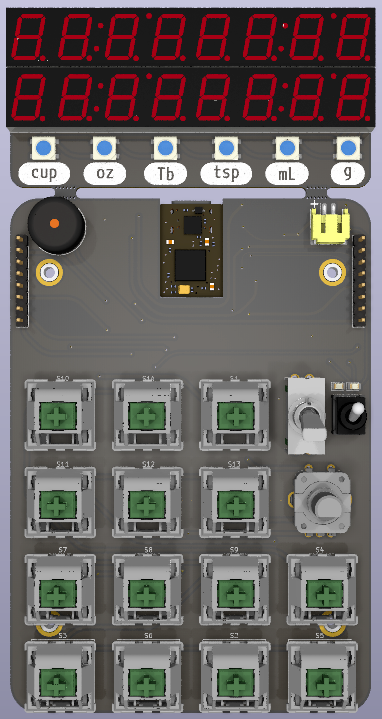
Pivoting to a kitchen tool
Although I was enthusiastic about the unit conversions, a friend saw the potential utility of using Unitron in the kitchen, particularly for baking. The final iteration includes a rechargeable LiPo battery and charging circuit so the device could be recharged over USB-C. A buzzer can give audible alerts when a timer is done. A rotary encoder with built in button provides a nice interface for selecting ingredients and conversion units.
Video Demos
← back to projects